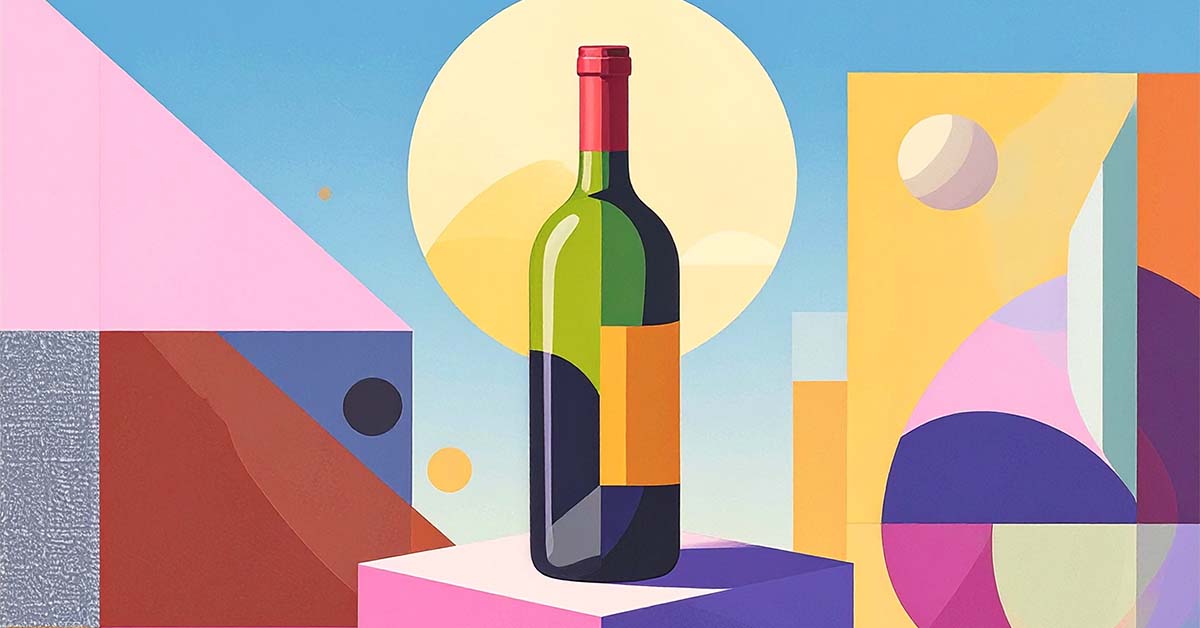
Pro tips for flawless glass photography
How to flawlessly capture your different wine, liquor, or beer glasses

Capturing the perfect glass photograph can feel daunting, but with the right approach and a creative touch, you can turn ordinary glassware into polished, eye-catching images. In this article, we'll guide you through the process of photographing glass objects. You'll learn about unique challenges, various lighting setups and techniques, photography tips, and creative approaches to help you achieve professional results. Here's how to get it right.
Summary:
- Glass photography for wine, beer, and spirits has specific challenges
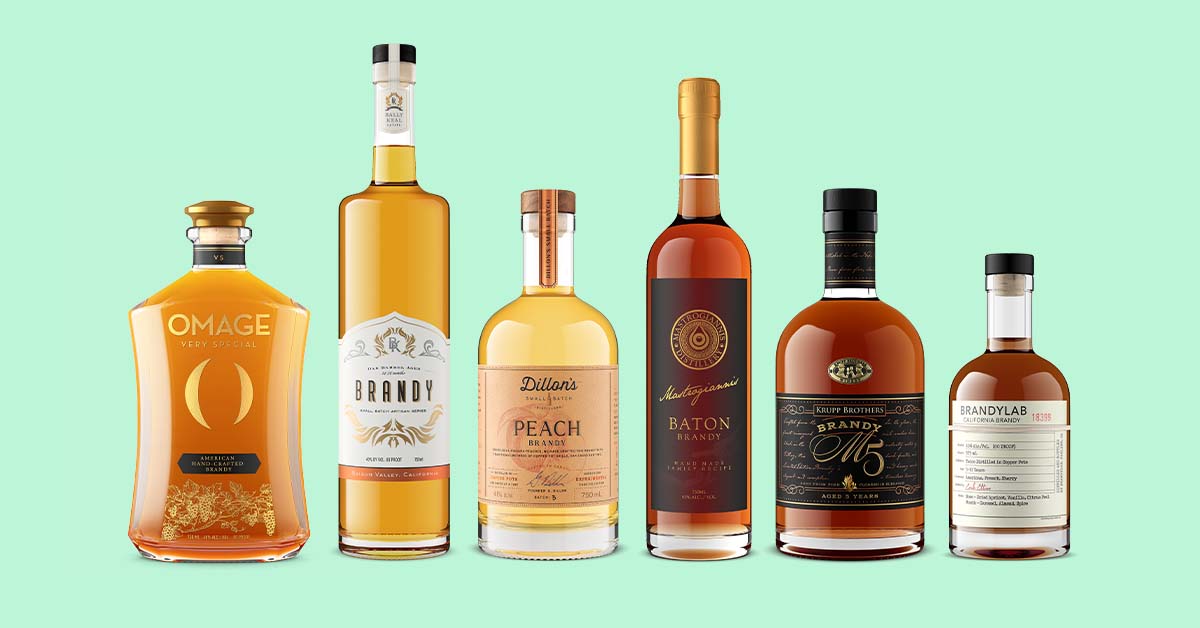
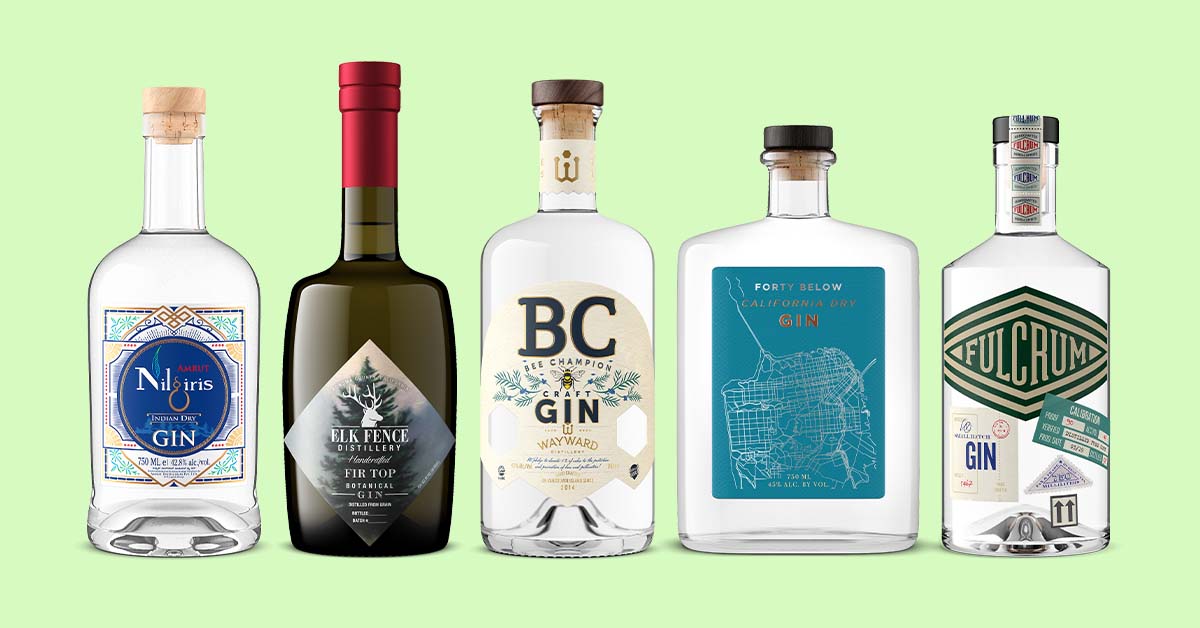
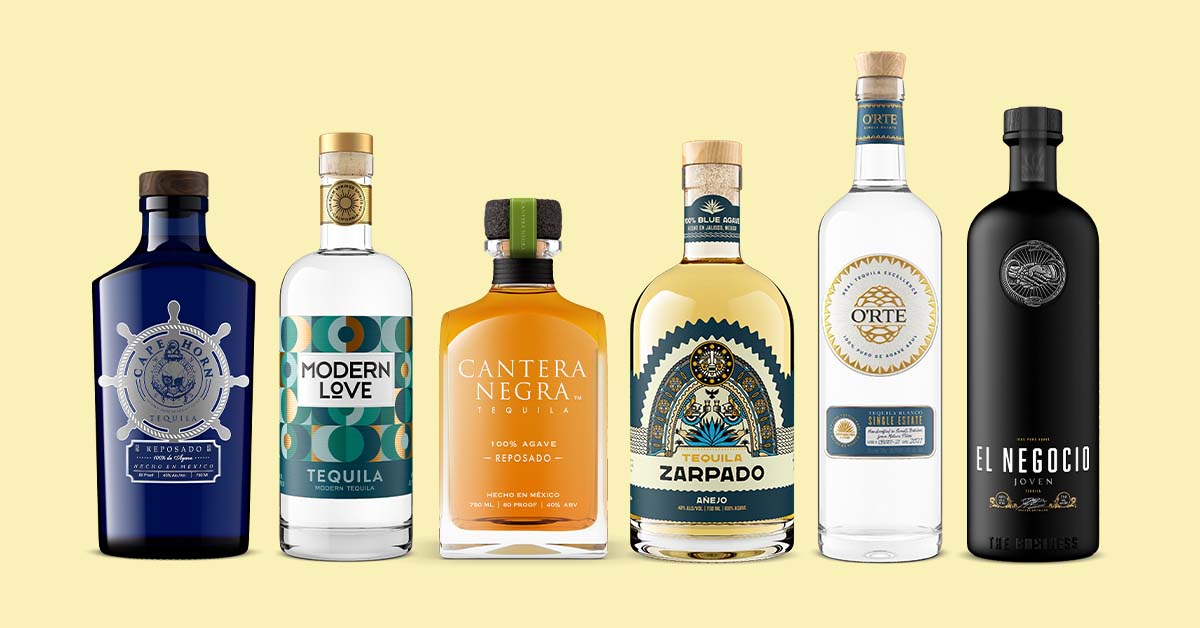
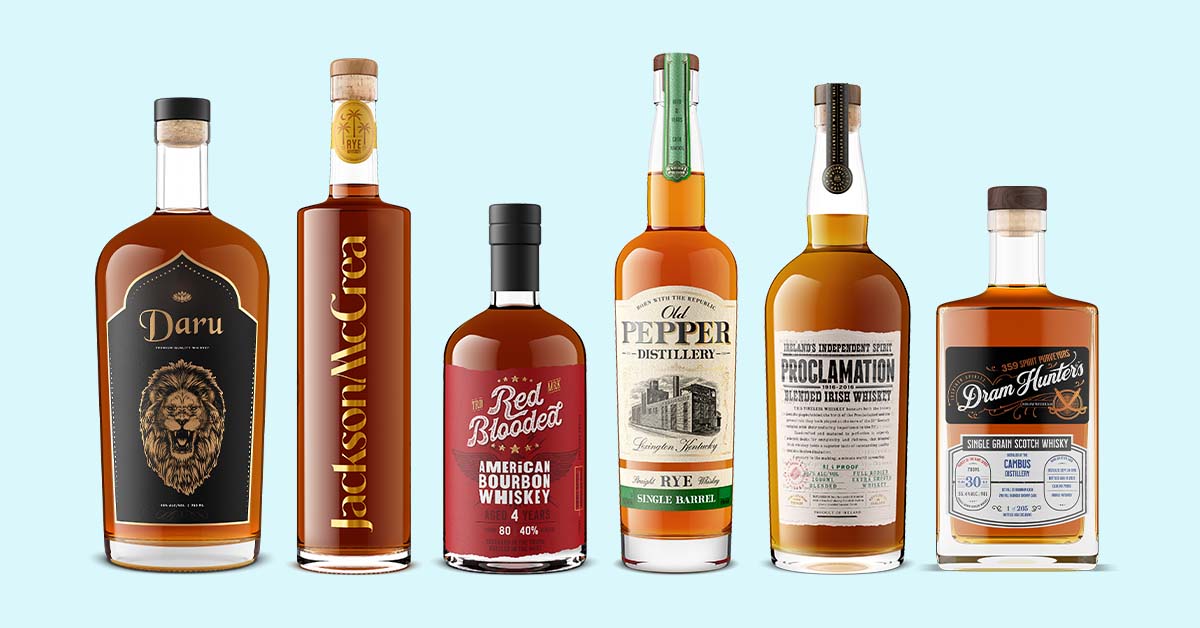
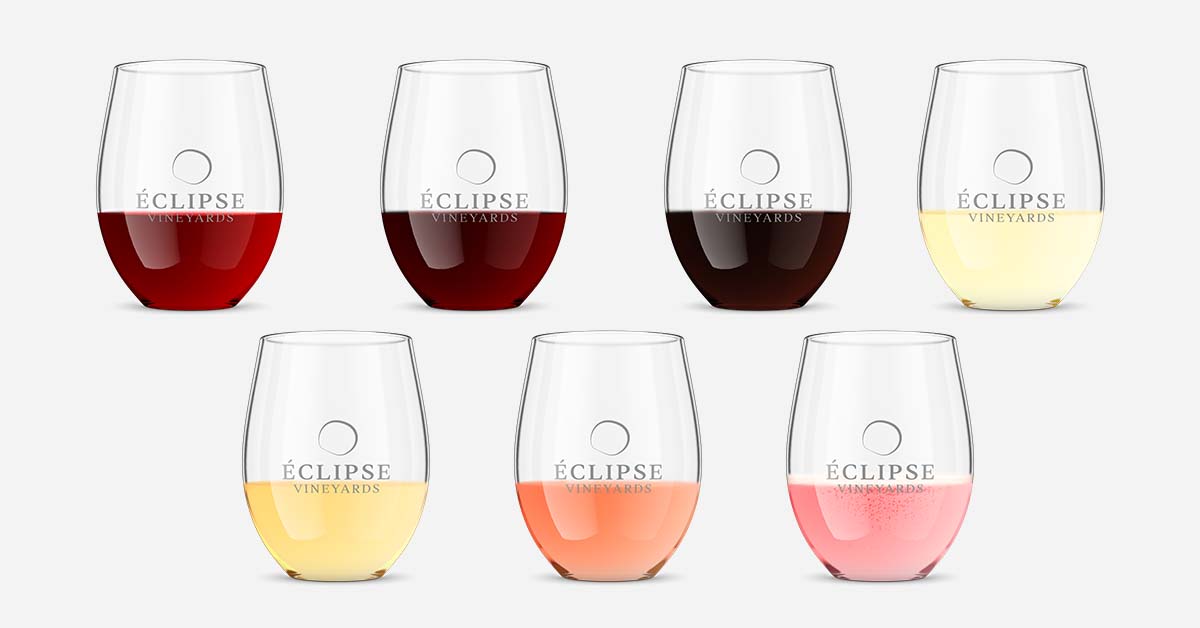
- Use CGI renders for cost-effective, guaranteed results
- Utilize correct lighting techniques to create sharp images on white or black backgrounds
- Troubleshoot reflections, lighting, and liquid appearance to make the photo compelling
Understand the challenges of clear glass photography
Photographing a glass object is a complex and intricate process. The nature of glass objects makes them particularly challenging to capture, as they are highly reflective and transparent. This means that the photographer must carefully control the light sources to avoid unwanted reflections and highlight the details of the glassware. To achieve the best results when you photograph clear glass objects, it's essential to understand these challenges and adapt your techniques accordingly.
Reflections are the primary issue when photographing glass, as they can distract from the subject and make the image appear unprofessional. To overcome this challenge,focus on utilizing the light rather than eliminating it. By understanding how it interacts with transparent glass, you can manipulate it to create polished, professional images that showcase your products.
Glass photography is a highly specialized field within the commercial photography industry, requiring professional photographers with a unique set of skills and knowledge.
Achieving optimal lighting
In photography, Light isn't just a component. It's the entire language of the image. As Sir John Herschel, who first coined the term "photography" back in 1839, would have it, photography quite literally translates to 'drawing with light'.
Selecting the perfect lighting setup is crucial when capturing exceptional glass photographs. In this section, we'll walk through lighting techniques that can be employed to capture exceptional images of glass objects. These techniques include utilizing clean white backgrounds, lighting properly elevating black backgrounds, and creating captivating backlit setups.

Simple, on white background
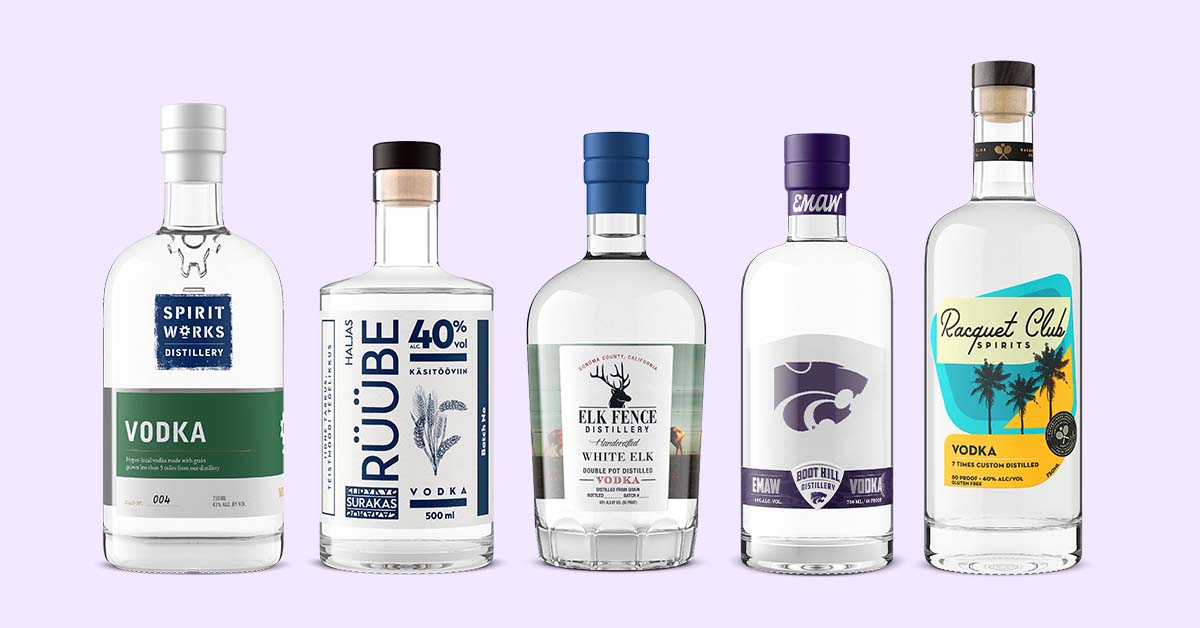
A simple white background is a popular choice for shooting glassware photography, as it creates a clean and professional look that highlights the glassware's shape and details. To achieve this effect, you'll need to set up your lighting correctly. It is recommended to have two diffused lights with umbrellas placed on either side of the to photograph glassware or objects and a white sheet of rolled paper behind the product.
When photographing glassware on a white background, utilizing reflected light from a large softbox is highly recommended, as it yields long rectangular reflections in the glass that help delineate the shape of the object. This large soft box of light is preferable to using a small camera flash, which does not produce the same result.
In terms of post-production, it's important to clone out in Photoshop any visible spots or smudges and clean up the background to pure white. This will ensure that your images meet the marketplace image guidelines of platforms such as eBay or Amazon, allowing your products to stand out and attract potential customers. For more on getting images marketplace-ready, see how to make your bottle images Google-ready.

Elevated, on black background
For a more sophisticated and elegant look, consider using glassware photography techniques on an elevated black background. This lighting setup can help to accentuate the glassware's shape and details, creating a visually striking image that's sure to impress.
One technique that can be used to create dramatic effects in glass photography is to utilize a sheet of black paper and light directly behind the glass surface, which can create a striking white glowing outline. This effect can help to emphasize the glassware's transparency and unique features, making your photographs stand out.
Another important aspect of elevated black background photography is the use of negative fill. This technique involves surrounding the glass with black foam or matte blackboards on the sides and the top, creating a static, dramatic effect in the image.
Original and dramatic, backlit
For a truly original and dramatic look, consider using backlighting techniques in your glass photography. Backlighting takes advantage of a glass product's translucency, providing a crystal-clear appearance without glare. This method allows for the manipulation of reflections, even when the glass piece is not of a regular shape or is curved.
There are several techniques you can use to create captivating glass photos using backlighting. One approach is to fill a glass with water. Utilizing contrasting backgrounds like two solid colors or a striped piece of cardboard helps to both reflect light and bring out the details of the object in the glass. This creates interesting compositions with refraction, resulting in unique and visually appealing images.
To ensure that labels on glass products are adequately illuminated in product photography, you can use spotlights directed at the labels, creating a bright and even light source. This front-side lighting will help to increase the contrast levels in your photos and make the labels stand out.
Finally, utilizing black light diffusers in glass product photography can help to a crisp image and achieve a contrast at the glass edges, providing the desired sharpness effect with a white background. By experimenting with these various backlighting techniques, you can create original and dramatic glass photos that capture the attention of your audience.
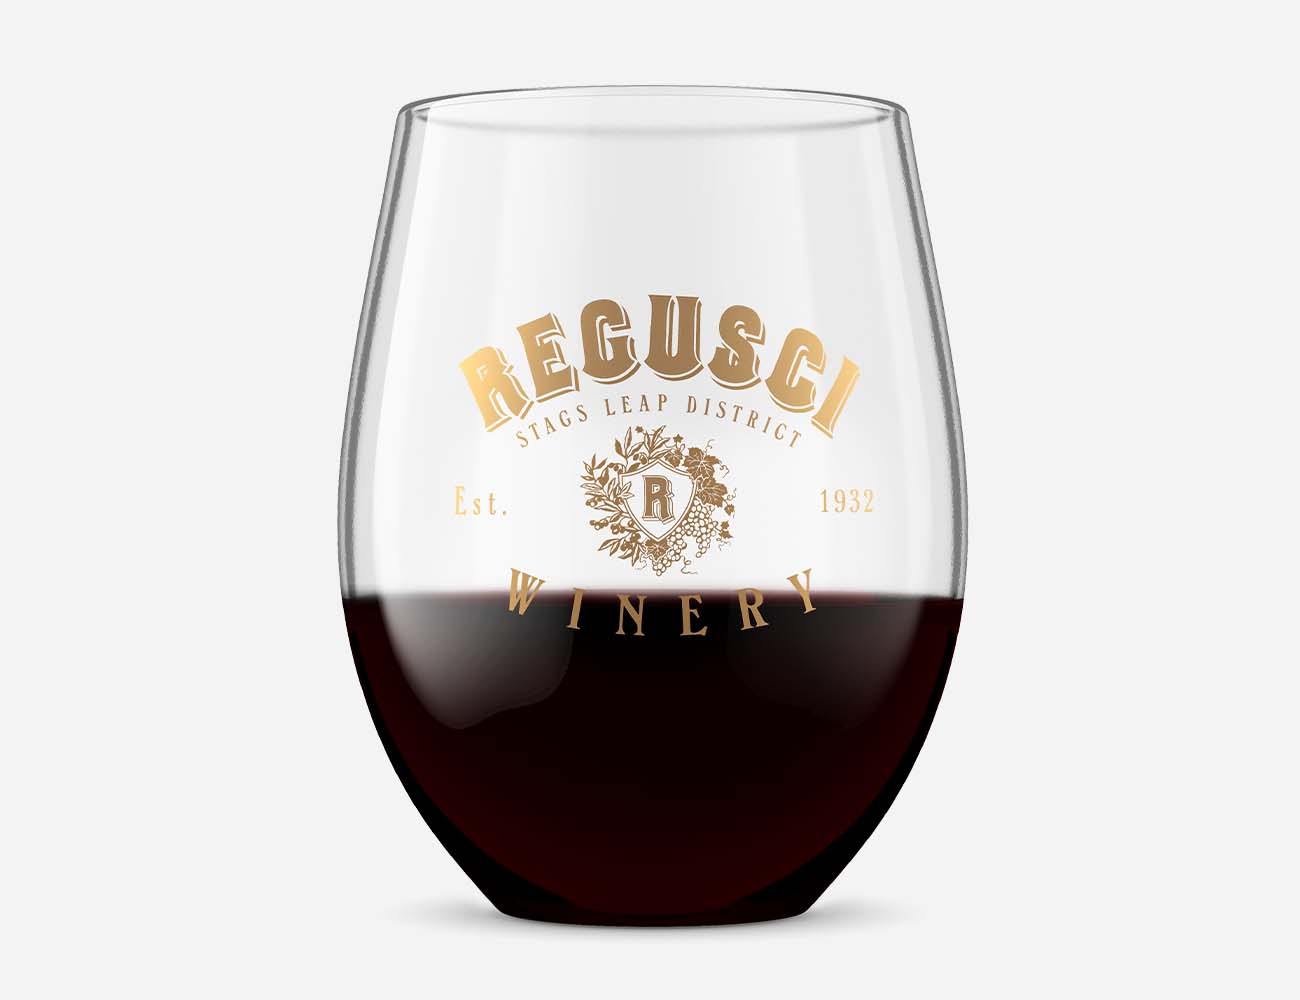
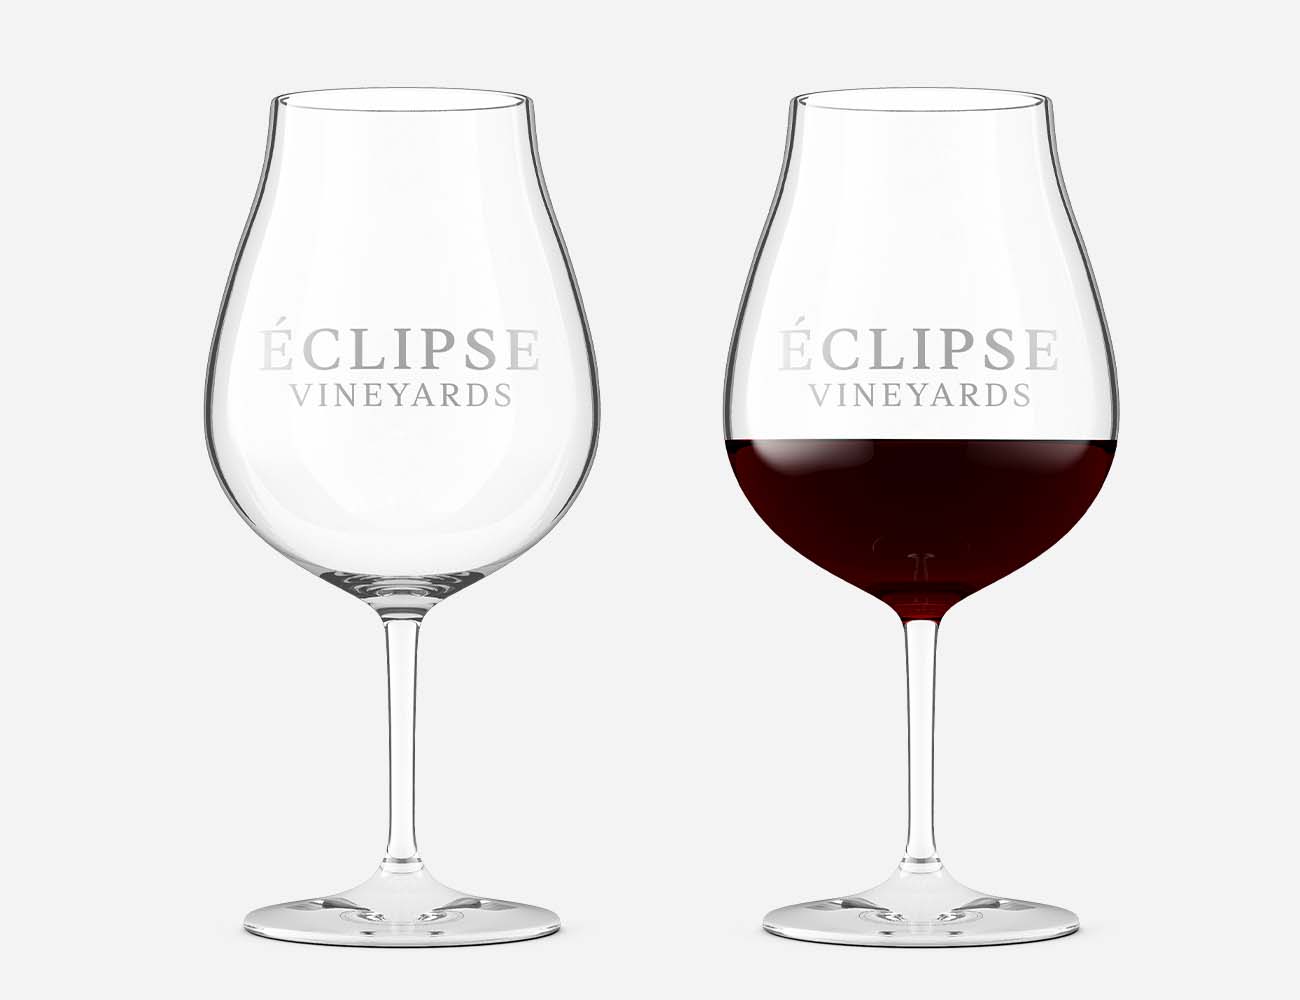
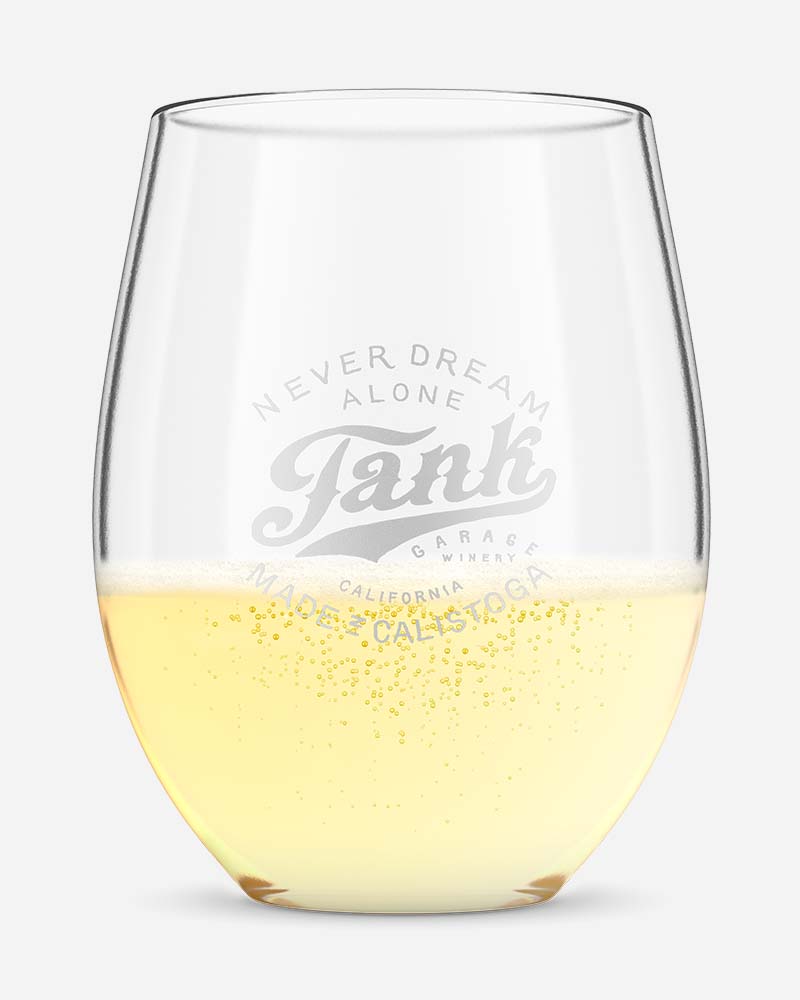
Making your logo on the glass legible
When photographing branded wine glassware, it's important to ensure that your logo or branding is clear and prominent in your images.
Another key aspect of making your branded glassware legible is the positioning of spotlights. For optimal illumination, spotlights should be positioned so that they are shining directly onto the labels. This will help to draw attention to your branding and make your products stand out.
To further enhance the legibility of your branding, consider using reflectors and light diffusion materials in your glass photography. Reflectors can help provide a bright and even light source, while light diffusion material can be positioned on the reflectors to help reduce reflections.
By employing these techniques, you can ensure that your logo-branded glassware is easily recognizable in your product photography.
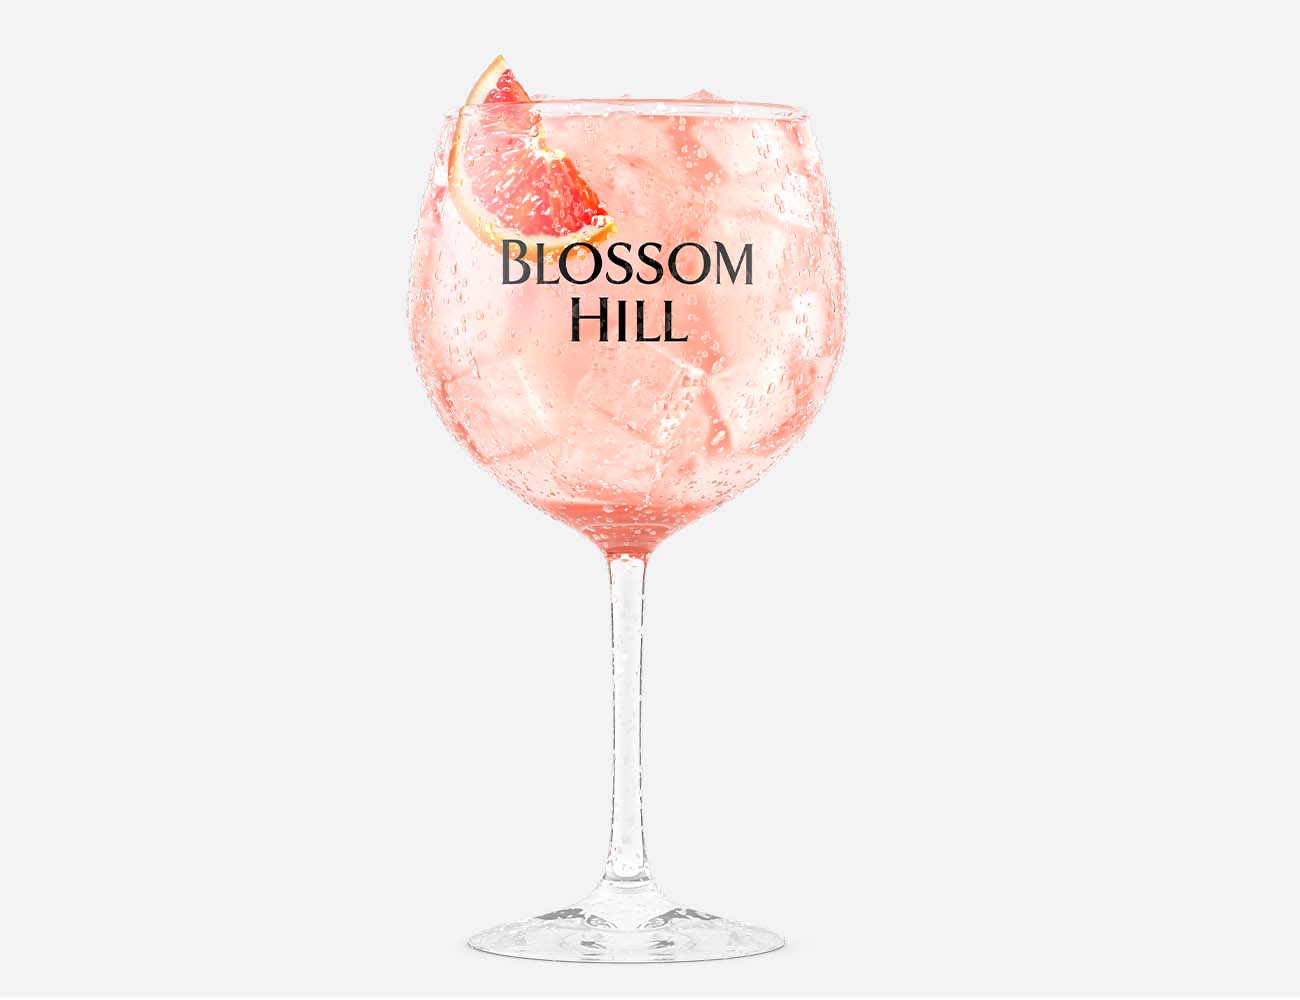
Selecting the correct glass shape for the correct beer or wine varietal
Selecting the correct glass shape for different beer and wine varietals is an important aspect of glass photography. The appropriate glass shape can improve the visual presentation of the beverage, making your images more appealing and professional.
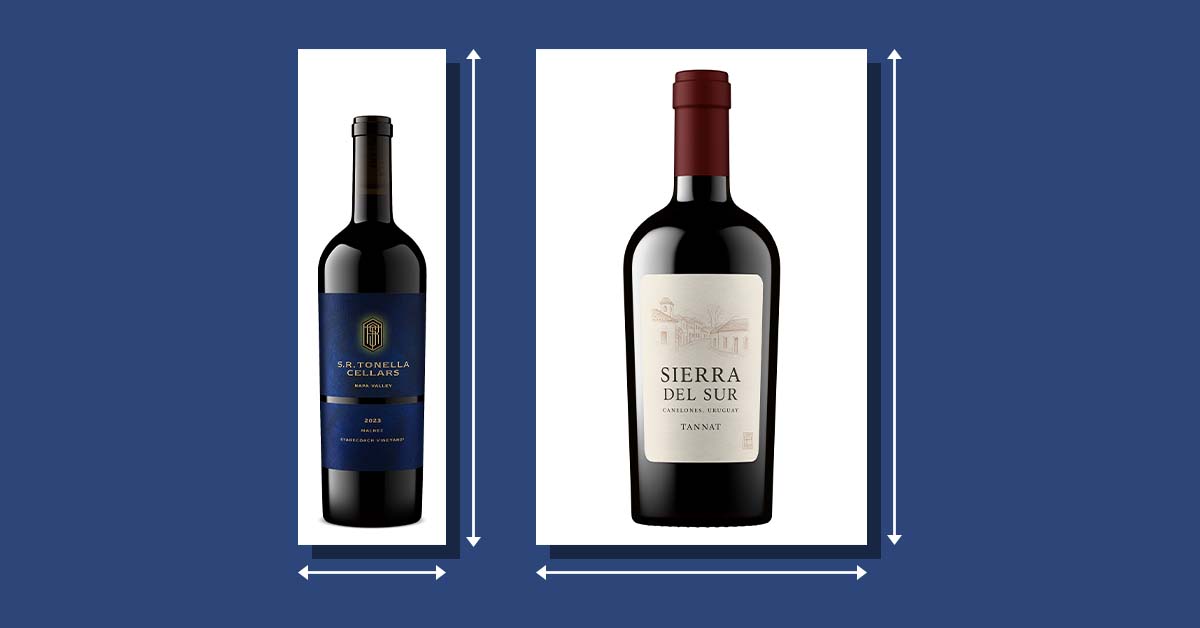
To determine the most suitable glass shape, consider the flavor profile, aroma, and mouthfeel of the beverage. Different glass shapes can enhance these features, and it's essential to match the glass size to the serving size of the drink. By selecting the correct glass shape, you can create compelling glass photographs that showcase the unique qualities of each beverage. The same principle applies to bottles: choosing the right bottle shape matters just as much for how your product photographs.

Creative approaches to glass photography
Countless creative approaches to glass photography can help you create unique and captivating images. One such move is to experiment with different angles and reflections. You can also incorporate props or additional elements into your photographs. Using props and textured bases can add depth and interest to your glass photography, helping to create a more engaging and visually appealing image. Examples of glass photography ideas include using a marble or wooden base, a dangling branch from a plant, or a tasty cupcake. For more on styled scenes, see 10 creative ways to use lifestyle images for wine marketing.
Another creative approach to creative glass photography is to capture action shots, such as pouring water over or around the glass. This can add a dynamic element to your images and create a sense of movement and energy. To achieve this effect, you may need to use a fast shutter speed and a low power setting on your camera.
Finally, incorporate hard shadows in your glass photographyto add an artistic touch to your images. By adjusting the proximity and direction of your light source, you can create interesting shadows that enhance the composition of your photographs. With a little creativity and experimentation, you can develop your unique style and produce compelling glass photographs that stand out from the crowd.
Troubleshooting common challenges
As with any type of photography, there are common challenges that may arise when photographing glass objects. Some of these challenges include reflections, lighting issues, and capturing fine details. Fortunately, there are several solutions to help you overcome these challenges and achieve professional results in your photographs of glass objects.
One way to manage light reflections in glass photography is to step away from the angle of reflection and avoid hot spots on the glass by changing the angle. This can help minimize unwanted reflections and create a cleaner, more professional image.
Another solution for dealing with reflections is to use Dulling Spray, a product designed to temporarily reduce an object's reflectivity. Applying Dulling Spray to reflective objects, such as glass soda bottles, can help to diminish reflections in your photographs.
When it comes to lighting issues, using a tripod can help to maintain camera steadiness and prevent blurring in your images.
Additionally, using a diffuser can help to soften the light, making it easier to control and manipulate. For capturing fine details, consider using a macro lens, which can help reveal the intricate details of your glass objects.
Switching to hyper-realistic 3D rendering
Capturing branded glassware well is a challenge even seasoned photographers grapple with. The interplay of reflections, transparency, and logo legibility demands a level of control that a physical studio can only partially provide.
That control problem is exactly what 3D rendering was built for. Instead of wrestling with reflections under hot lights, a photorealistic 3D model of your branded glassware gives you full command over lighting, angle, and liquid appearance from the start. No physical samples to ship. No post-production cleanup on smudges and fingerprints.
Outshinery builds these renders for wine, beer, and spirits brands, matching every detail from glass shape to logo placement to liquid color. See how custom glassware imagery works.
The 3D model also pays for itself over time. Once it's built, you can reuse it for new angles, seasonal campaigns, or lifestyle scenes without rebooking a photographer.
Future-proofing your visual content
By using CGI renders, you can build a virtual version of your glass product and adjust lighting, angle, and color match as many times as you need. The final image is controlled from the start, which cuts post-production work significantly.
Using CGI renders for your wine bottle and wine glass photography also offers an additional benefit. The 3D models can be easily repurposed for other setups, such as Lifestyle Images. This eliminates the need to send physical samples (such as bottles or wine glasses) to the photographer, making the process efficient and cost-effective. Thus, you can obtain more visual product content without incurring additional expenses.
Summary
Photographing glass objects is both a challenge and a skill worth building. By understanding the unique obstacles associated with glass photography, selecting appropriate technology, using camera settings, and experimenting with various lighting techniques and creative approaches, you can achieve professional images that beautifully showcase your products.
When you choose Outshinery, you're choosing a team that builds every image by hand, matched to your exact packaging specs. The team matches every detail of your glass, your logo, and your liquid. The images look like your product because they're built from your product.
See what happens when the camera isn't the bottleneck. Start with a free project and see the difference.

Frequently Asked Questions
What is the best way to photograph glass?
To best photograph glass, use a backlight to reduce reflections, adjust the angles of the camera settings and the light sources to source 45 degrees to one side or above your subject, wear black clothing and gloves, and consider using a Polarizing Filter and Lens Hood. Additionally, make sure to cover any light sources not in use and experiment with post-processing for added effect.
How do you take pictures through glass?
To take pictures through glass, stand close to the glass surface and use a collapsible rubber lens hood for protection. Utilize a polarizing filter and avoid flash if possible. Move farther from the glass when necessary to reduce reflections and improve quality.
What are the benefits of using CGI renders for glass photography?
Using CGI renders for glass photography provides flexibility, consistency, and cost-effectiveness compared to traditional methods. CGI renders allow for greater control over the final product, as well as the ability to make changes quickly and easily. This makes them ideal for projects that require a high degree of accuracy.
What are some creative approaches to glass photography?
Creative glass photography can be achieved by experimenting with angles, reflections, props, and action shots for unique results. By changing the angle shutter speed of the camera, you can create interesting reflections hard light, and shadows. Props can be used to add depth and interest to the image. Action shots can be used to capture the movement of the object.
Glass photography checklist
- Get the lighting right: white backdrops, elevated black backgrounds, and backlit arrangements.
- Ensure legibility of your logo on the glass: Strategically position spotlights, use reflectors, and incorporate light diffusion materials to enhance brand visibility.
- Choose the right glass for the right beverage: improve visual appeal by aligning glass shapes with the characteristics of different beers or wines.
- Embrace creative angles in glass photography: Play with perspectives, reflections, props, textured bases, and dynamic shots to craft distinctive and captivating visuals.
- Address common challenges: Mitigate issues related to reflections, lighting intricacies, and fine details through a range of strategies.
- Consider hyper-realistic 3D rendering: CGI gives you precise control and versatile outcomes.
- Future-proof your visual content: build virtual versions of your glass products for quick adjustments and multiple setups.