Essential tools for product photography: nailing the bottle shot
The secret behind high-quality product shots

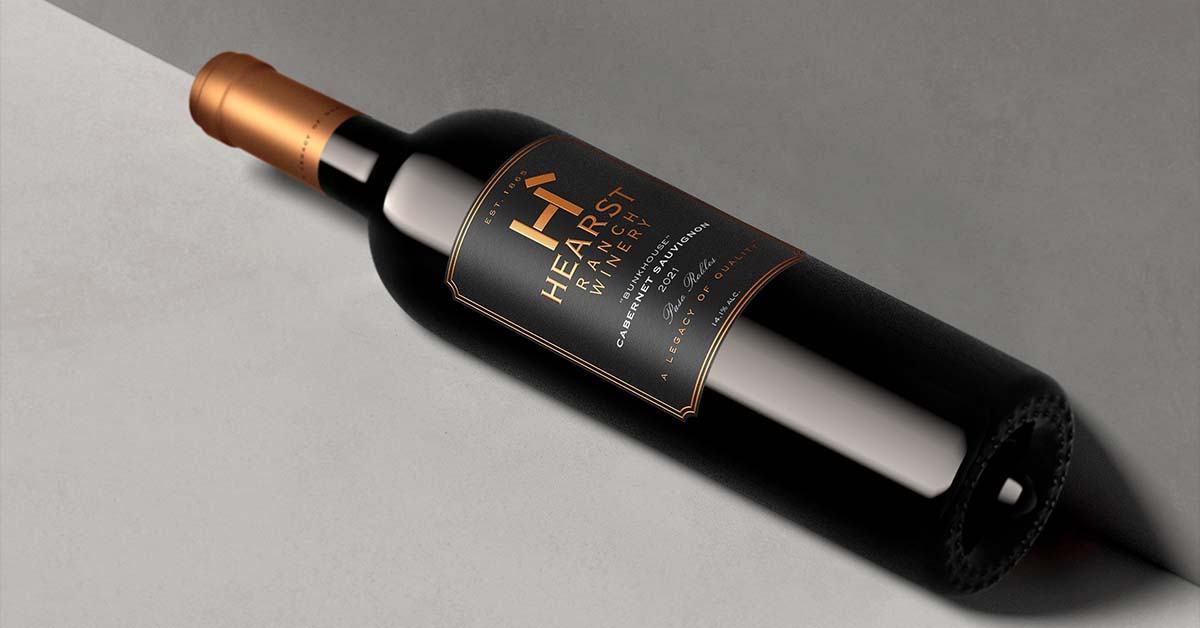
Photography, particularly product photography, is an art that demands precision, skill, and the right tools. One of the most challenging subjects in this field is the humble bottle. Its reflective glass surface, coupled with the need for meticulous lighting, can be a daunting task for even the most seasoned photographers. However, with the right tools and techniques, you can illuminate your subject with DIY bottle shot.
Key takeaways
- Mastering bottle photography demands precision, skill, and proper tools to handle reflective surfaces and lighting equipment.
- Essential tools include a high-quality DSLR or mirrorless camera, a sturdy tripod, softbox lights, and possibly a light tent to diffuse light evenly.
- Experimenting with different lighting angles and setups can help you highlight the unique aspects of the bottle you're photographing.
- A white or light-toned backdrop will help balance the reflective properties of the bottle and make your subject stand out.
- Patience, practice, and post-processing are key to achieving the perfect bottle shot.
Product photography must-haves
The importance of lighting in bottle photography
Lighting is the most crucial aspect of bottle photography. Bottles require a specially dedicated light setup to bring out their unique features and contours. Be it a bottle of wine or perfume, each demands its unique highlight, emphasizing the object and making it stand out in the frame.

Mastering reflections: a significant challenge
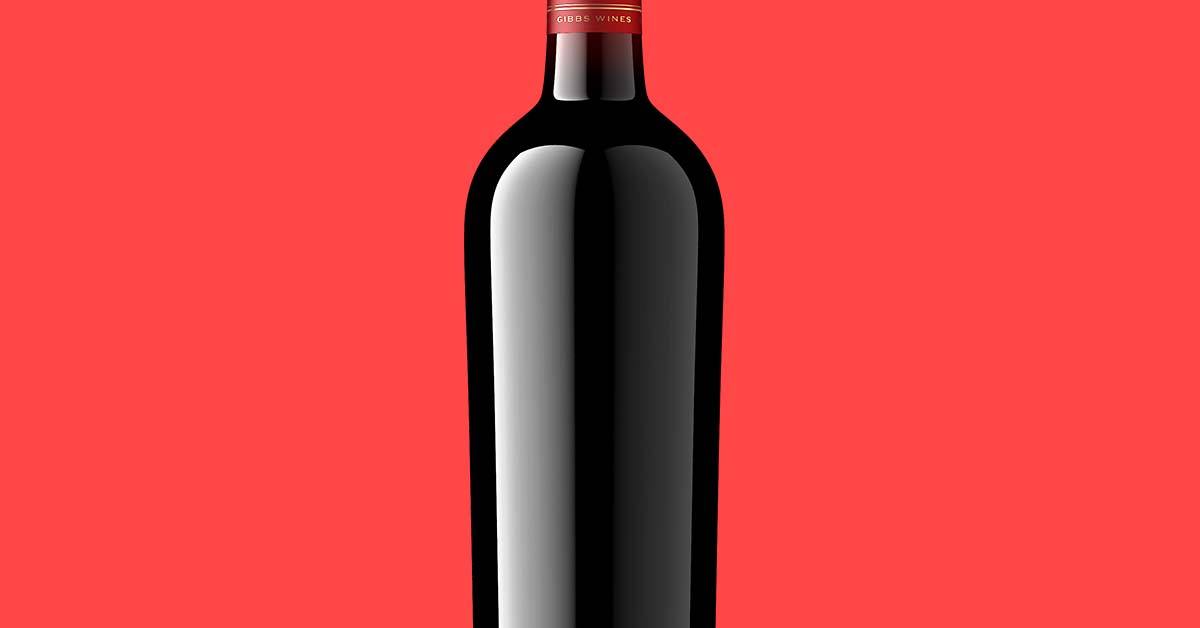
The reflective surface of the bottle can mirror its surroundings, potentially introducing unwanted elements into your shot. It's here that a clean, minimalist set comes into play. A clutter-free environment prevents any unwanted reflections and keeps the focus solely on the bottle.
Imperfections on the bottle like dust or fingerprints can mar the perfect shot. A microfiber cloth is a must-have accessory to wipe away these imperfections before they're immortalized in your photograph. Additionally, a blower brush can help remove any stubborn particles from the bottle's surface without leaving behind any scratches.
Essential equipment for capturing product photography
A high-quality DSLR or mirrorless camera is essential for capturing all the intricate details and textures of a bottle. A sturdy tripod is also crucial in maintaining stability and positioning as you experiment with different lighting setups. With bottles being notoriously reflective, a tripod ensures that your shots remain sharp and in focus.

Taking your bottle shot to the next level
Mastering bottle photography: tips for perfect lighting and composition
Once you have the essential tools ready, it's time to explore different lighting setups. Experiment with softbox lights to create soft, even lighting, or try using a light tent to diffuse light for a more subtle effect. Varying the lighting angle can also help highlight different aspects of the bottle, such as the label or unique shape.
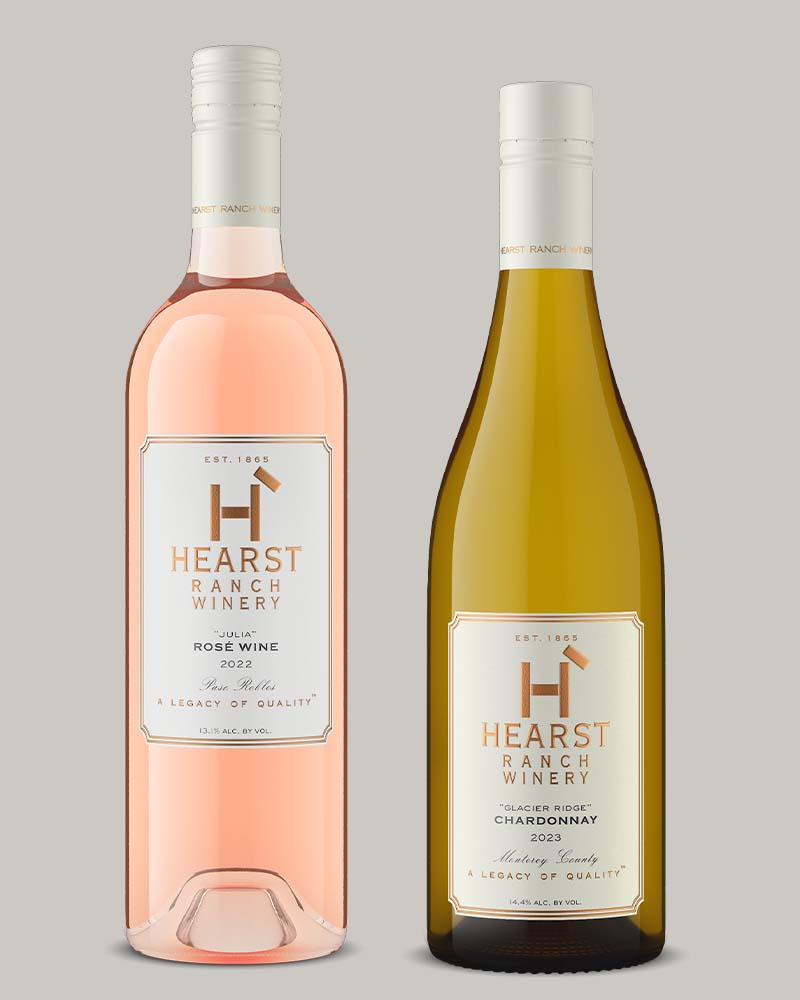
To make your bottle stand out even further, consider using a white or light-toned backdrop. This will help balance out the reflective properties of the bottle and create a clean, professional look for your photographs. Don't be afraid to play around with different props or backgrounds to add an extra dimension to your shots.
Proper positioning of the bottle and its surrounding props demands a high level of skill. A professional prop or food stylist can lend their expertise to ensure that everything is placed perfectly, enhancing the overall composition of the shot. Their keen eye for detail and knowledge of the product can make all the difference in capturing an exceptional photograph.

Enhancing every shot with post-processing and strategic planning
Post-processing is an essential part of the bottle photography process. It allows you to enhance the colors and sharpness of your shot, as well as remove any imperfections. Adobe CameraRAW and Photoshop are popular editing software options that come to mind. With a bit of tweaking, you can transform your bottle shot into a stunning masterpiece. Remember, patience and practice are key to achieving the perfect result.
Lastly, it all boils down to planning. Seasonal product shoots require forward-thinking, ensuring you have ample time to capture the perfect shot before the busy marketing season arrives. Get your Marketing Calendar to keep on target—try out campaign ideas that will work for your brand.
In conclusion
Mastering product photography, especially bottle shots, is a multifaceted process that demands not just technical proficiency, but also an artistic eye. It's about understanding the unique features of your subject and using the right tools to bring them into the spotlight. From lighting to post-processing, every step plays a vital role in creating that perfect shot.
Remember, patience and practice are your best allies in this journey. With the right approach and dedication, your bottle shots can truly reflect the exceptional quality of your brand and product, setting you apart in the competitive world of alcohol marketing.
Mastering bottle photography isn't a walk in the park, but with the right tools in your arsenal and a firm grasp of the basics, you'll be well on your way to capturing images that truly stand out.

Feeling daunted by the intricate process of DIY product photography?
Consider leveraging Outshinery's expertise. Outshinery is a professional service specializing in stunning, high-quality bottle shots. We understand the challenges of DIY photography, especially with reflective bottles. Our experienced team ensures exceptional results, making your brand shine in a competitive market. Trust us for your bottle photography needs and exceed your expectations!
Frequently asked questions
What equipment do I need for DIY bottle photography?
You need a DSLR or mirrorless camera, a sturdy tripod, and softbox lights or a light tent to diffuse light evenly. A white or light-toned backdrop, a microfiber cloth, and a blower brush round out the kit for handling reflections, dust, and fingerprints.
Why are glass bottles so hard to photograph?
Glass mirrors whatever surrounds it, so clutter on set can show up as unwanted reflections in the shot. A clean, minimalist set and a dedicated lighting setup keep the focus on the bottle instead of its surroundings.
What backdrop works best for bottle shots?
A white or light-toned backdrop works best because it balances the bottle's reflective surface and creates a clean, professional look. It also helps the label and the bottle's shape stand out in the frame.
What software should I use to edit bottle photos?
Adobe Camera Raw and Photoshop are the standard choices for post-processing bottle shots. They let you correct colors, sharpen details, and remove small imperfections that the microfiber cloth and blower brush missed.
Is there an alternative to shooting bottles myself?
Yes. Outshinery is a professional service that produces high-quality bottle shots for beverage brands, handling the reflection and lighting challenges that make DIY glass photography so difficult.