How to photograph a wine bottle like a pro
Master the art of wine bottle photography

Capturing the essence of a wine bottle is no easy feat. Glossy reflections, detailed labels, and unusual bottle shapes all work against you at once, and glass is unforgiving of a setup that is nearly right.
Whether you're a winemaker, retailer, or wine lover looking to perfect your craft, here are the tips that make the difference. And if the process feels like more than you signed up for, there is a smarter alternative at the end.
Why wine bottle photography is harder than it looks
A wine bottle is three difficult subjects in one frame. Curved glass that mirrors everything in the room, a flat printed label that has to stay legible, and a liquid whose color changes how light passes through the bottle.
Fix the lighting for one and you usually break another. That is why a setup that works for a boxed product falls apart on a bottle.
The good news is that the problem is mechanical, not artistic. Once you know which light does what, the same setup repeats every time.
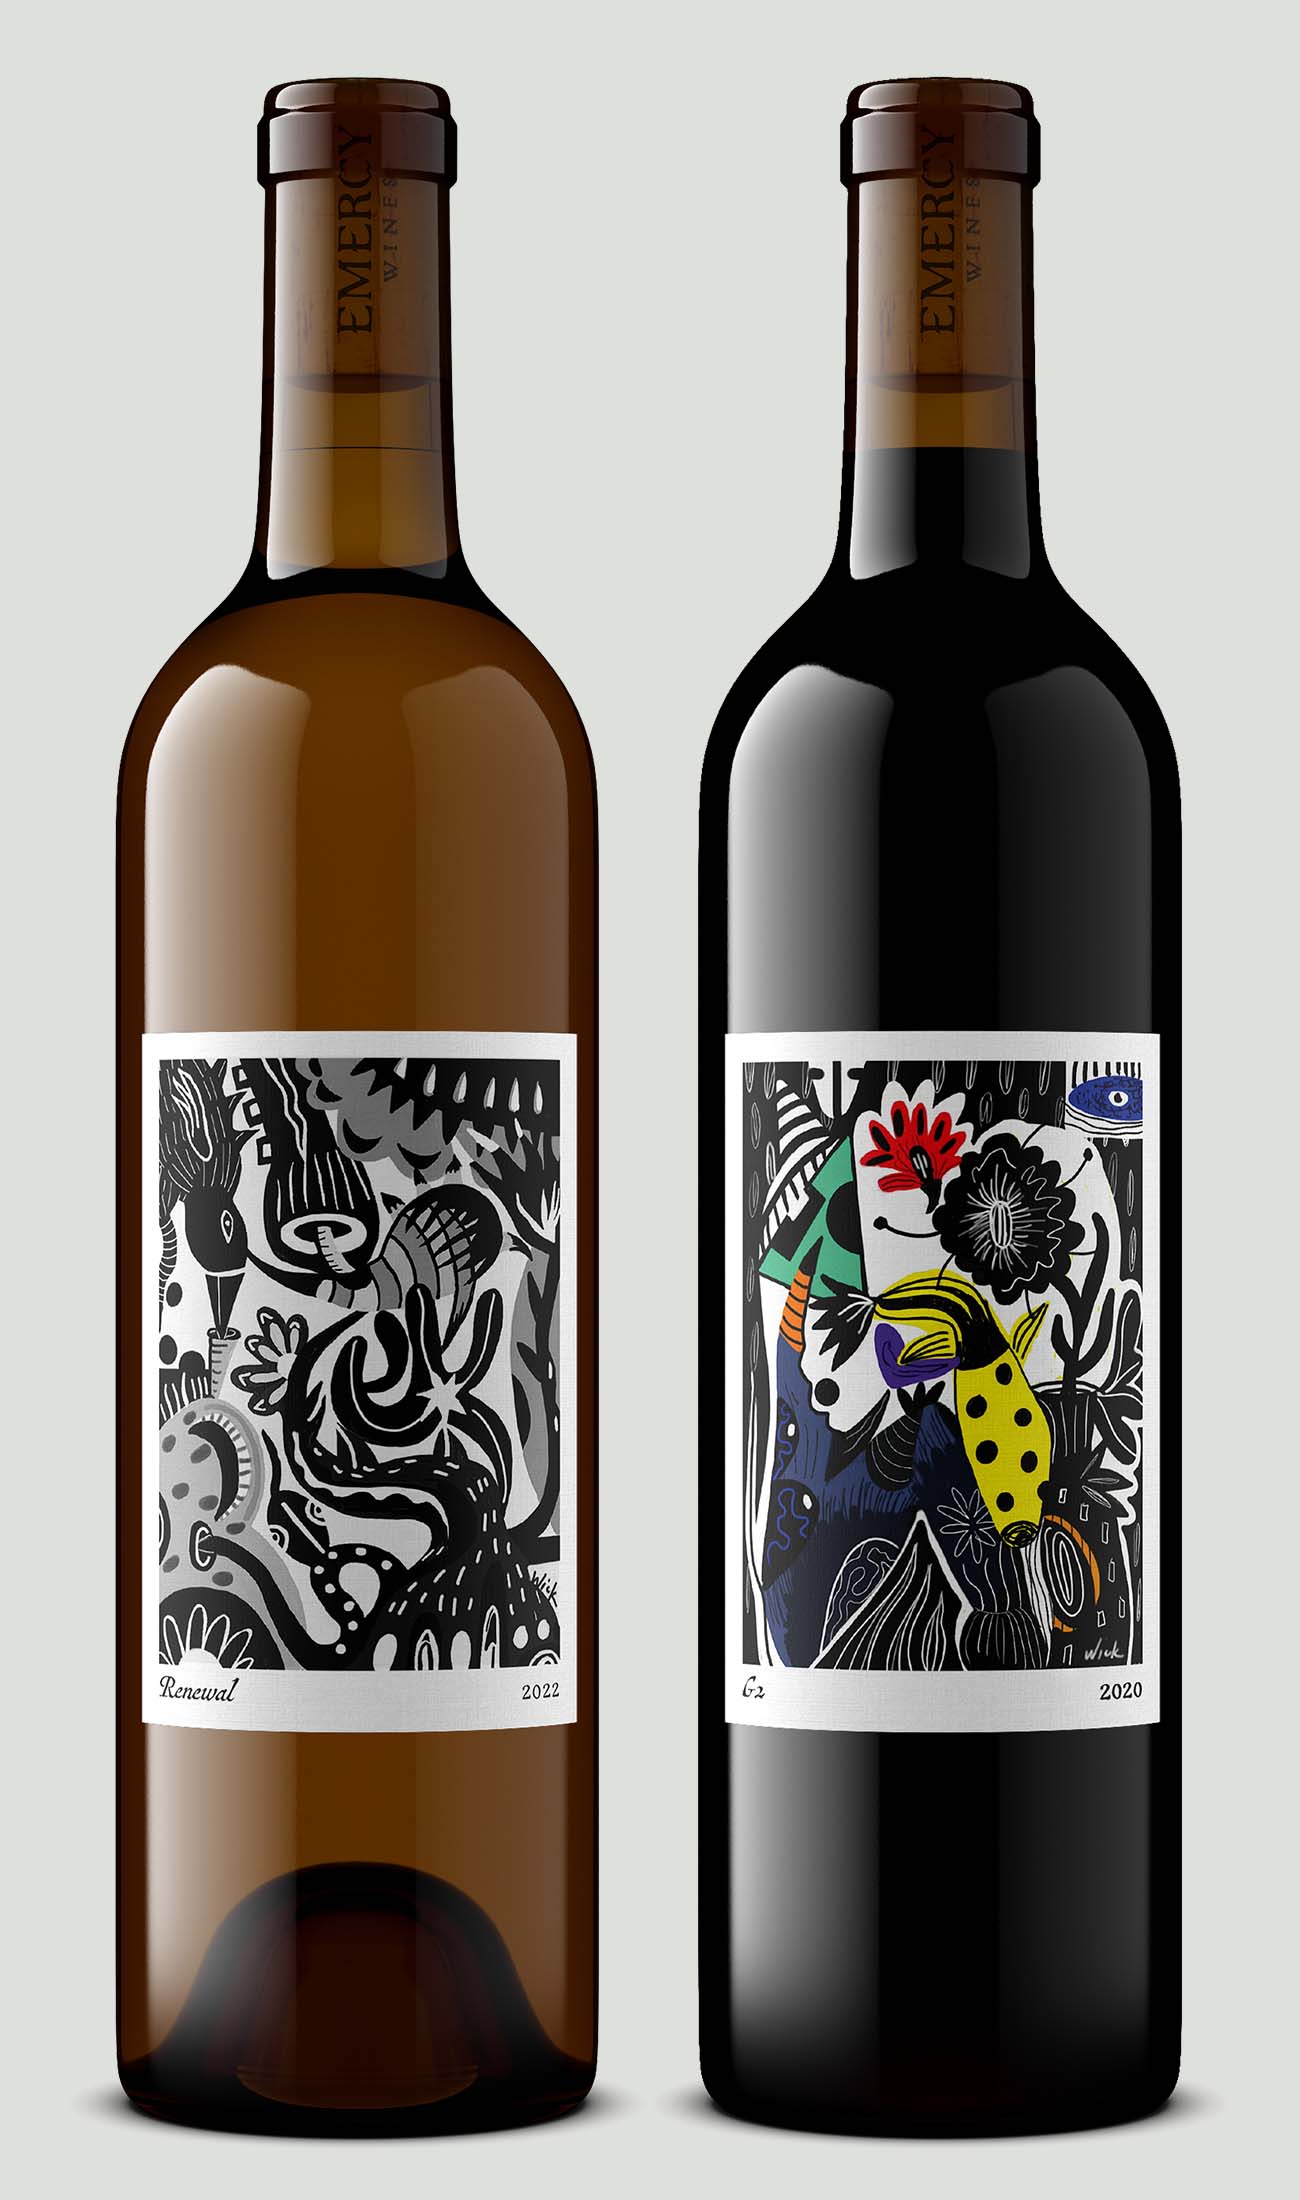
How to photograph a wine bottle, step by step
Seven steps, in the order a working shoot actually runs. Preparation first, lighting second, camera third, editing last.
Step 1: Prepare the bottle before you light it
Every fingerprint, dust speck, and crooked label costs you time in retouching later. Handle the bottle with cotton gloves or a microfiber cloth and inspect it under your key light before you shoot.
- Check the label alignment, front and back labels should sit square and level with each other.
- Look for dents, scuffs, or scratches on the capsule and the cork tab.
- Wipe the glass, then check for lint the cloth left behind.
- Fill the bottle to the same level as the ones you shot last time, so the fill line matches across the range.
Step 2: Light the glass, then light the label
Glass and paper want opposite things. Glass looks best under large, soft, angled light; a printed label needs a smaller, harder light to stay readable.
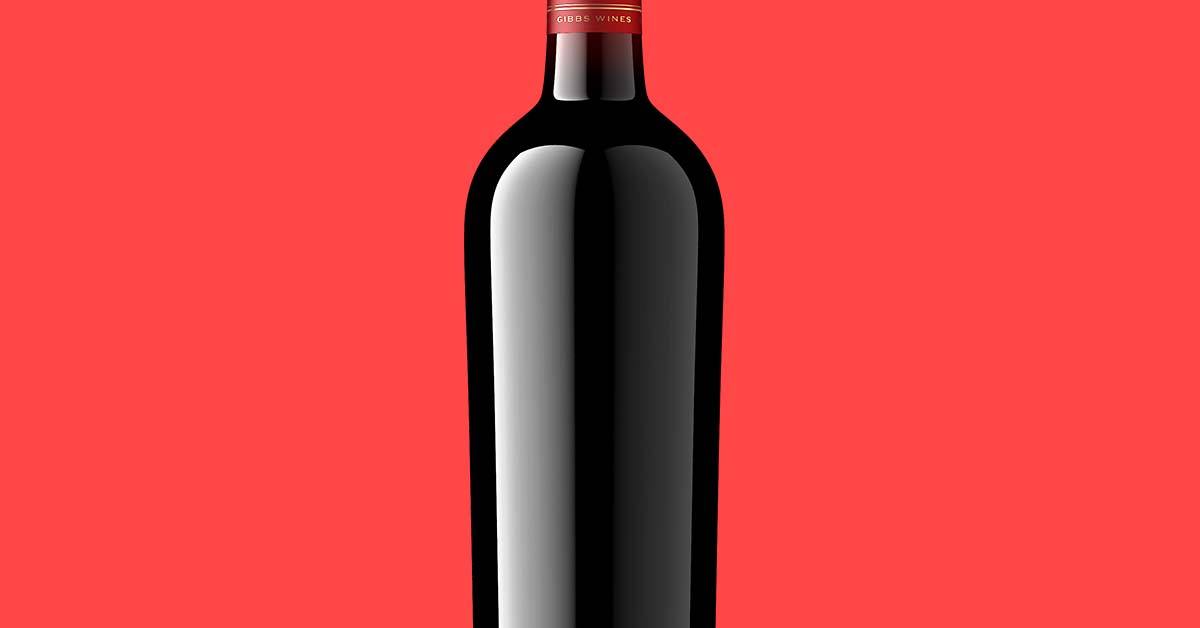
Start with the glass. Place a diffused source, a softbox or a window behind a sheer curtain, at roughly 30 to 60 degrees to the bottle so the highlight runs down the side rather than flaring off the front.
For clear and light-colored wine, add a light behind the bottle. The liquid glows, the true color reads correctly, and the bottle separates from the background instead of sinking into it.
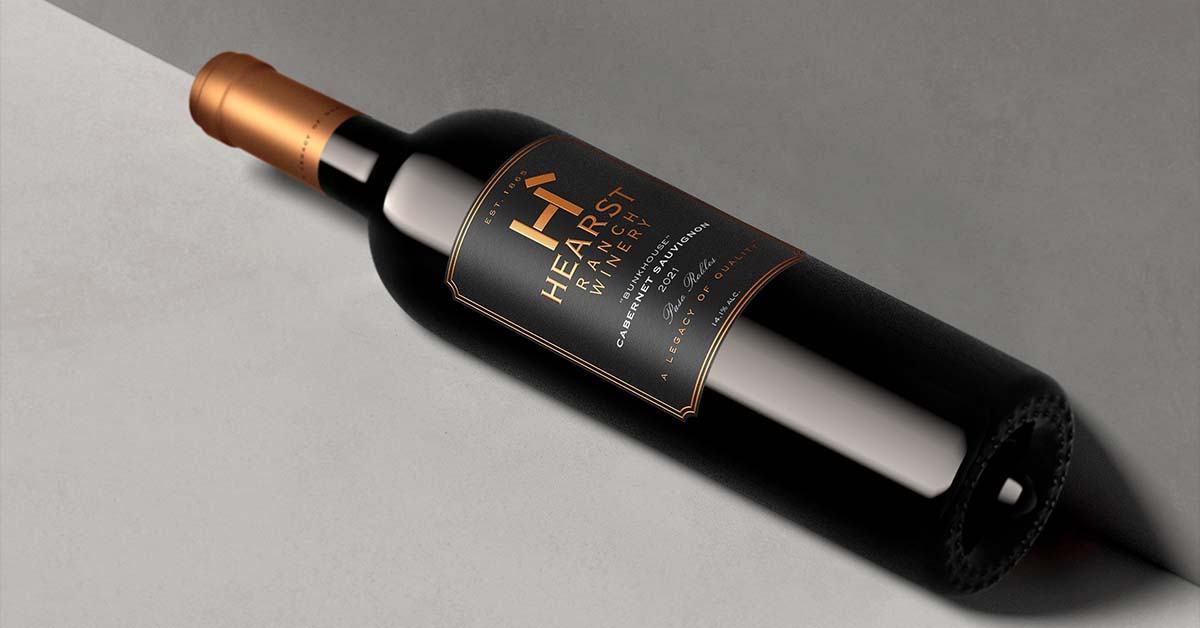
Then bring in the label. A small, narrow source, a focused LED or even a phone light, aimed at the label keeps the type crisp without blowing out the highlight on the shoulder.
Pro tip: On a budget, a large window and a white poster board as a bounce card gets you most of the way there. For the full kit list and what it costs, see our guide to the essential tools for product photography.
Step 3: Set your camera angle and height
Angle is the step most home setups skip, and it is the one that separates a product shot from a snapshot.
- Shoot at label height, roughly two thirds up the bottle, so the label reads flat rather than curved away from you.
- Drop slightly below that and tilt up a few degrees when you want the bottle to feel taller and more premium.
- Keep the bottle vertical in frame. A bottle leaning one degree off looks wrong even to people who cannot say why.
- Back off and zoom in rather than moving close with a wide lens, which bows the shoulders outward.
Step 4: Match the background to where it will live
The right background depends on the channel, not on taste. A retailer feed and an Instagram post want different files.
- Pure white or transparent for ecommerce listings, retailer portals, and shopping feeds.
- Neutral gray or a soft gradient for sell sheets and presentations.
- Texture and props only where the story matters, tasting room pages, social, and email.
Shoot the clean version first. You can always build a scene around a clean bottle, but you cannot strip a wooden table out of a listing image later.
Step 5: Nail focus and sharpness
The label is the hero, so it has to be crisp edge to edge.
- Use a tripod. Handheld at studio shutter speeds will not hold the label.
- Shoot at f/8 or narrower so the front of the glass and the label are both sharp.
- Focus on the label text, not the bottle edge.
- A macro lens earns its place when you are showing embossing, foil, or fine print detail.
Step 6: Tame reflections
Reflections are the real nemesis of wine bottle photography, and we have a whole guide devoted to beating them. The short version:
- Use black cards or flags to block unwanted reflections.
- Build a light tent for even, reflection-free coverage.
- Keep shiny surfaces like glass and metal out of the room, including the camera itself.
Pro tip: Walk around the bottle and look at it from several angles before you shoot. Every trouble spot you find now is retouching you avoid later.
Step 7: Edit without overcooking it
Post-production refines the shot. It does not rescue a bad setup, and heavy retouching is how a range starts drifting off-brand.
- Match brightness, contrast, and saturation to your actual label colors, not to what looks punchy on your screen.
- Remove stray reflections and dust, then stop.
- Export one clean, text-free version before you make any cropped or captioned variants.
That clean version matters more than it used to. Google's Merchant Center disapproves product images carrying promotional text, watermarks, or brand logos, and it wants the product to fill no less than 75% and no more than 90% of the frame.
The size floor is moving as well. A 500 x 500 px minimum applies to all products from January 31, 2027, and Google recommends 1,500 x 1,500 px or larger for best performance.
What changes with red, white, rosé, and sparkling
Liquid color is the variable most general product photography guides ignore, and it changes the whole lighting plan.
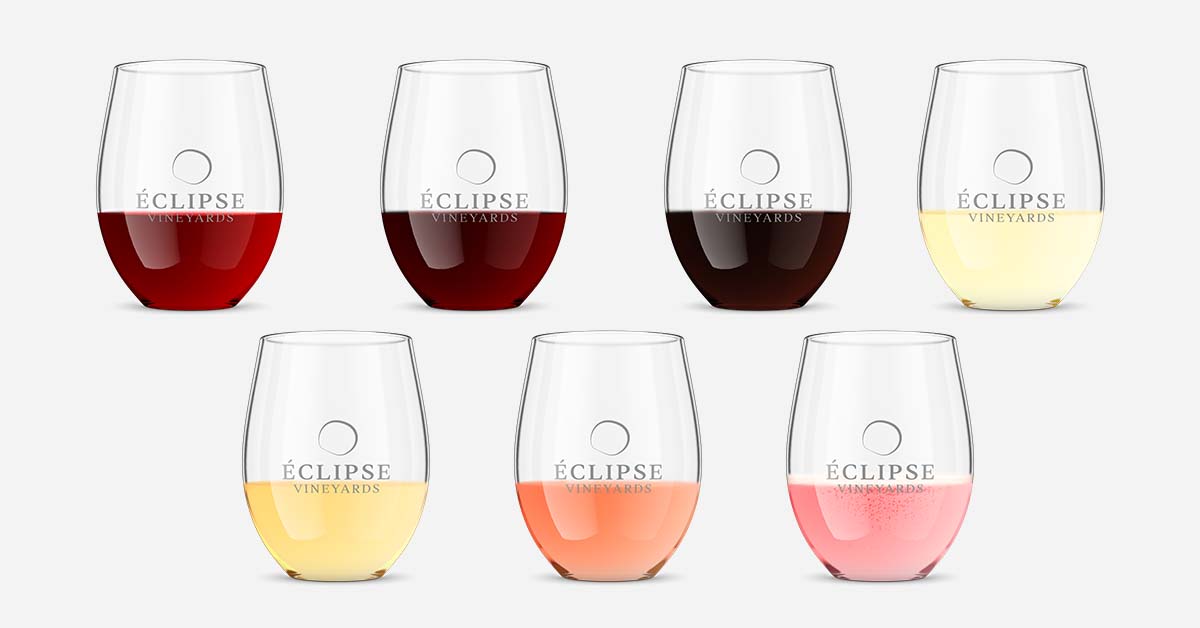
- Red is close to opaque. Backlight will not pass through it, so light the label and shoulders from the front and side and use a rim light to draw the glass edges.
- White and rosé are translucent and reward a light behind the bottle. Too much of it and the color washes out to something paler than the wine actually is.
- Sparkling adds a foil capsule, a wire cage, and a deeper punt, which means more reflective metal at the neck and a heavier base to keep in shadow.
- Clear glass shows everything, including the fill line and any bubbles clinging to the inside.
Get the color wrong and a customer receives a wine that does not match the picture. That is a returns problem, not an aesthetic one.
Where the do-it-yourself approach breaks down
Photographing a single bottle is manageable. Scaling it across a full portfolio, and keeping every SKU looking like it belongs to the same family, is where the do-it-yourself approach usually breaks down.
The math turns at portfolio scale. A home setup runs roughly $300 to $2,000, and a professional shoot typically costs $100 to $300 per image once production is counted, on a US average of about $150.
Neither number is the real cost. The real cost is the reshoot: a new vintage, a corrected alcohol by volume figure, a redesigned back label, and the whole exercise starts over, sample shipping included.
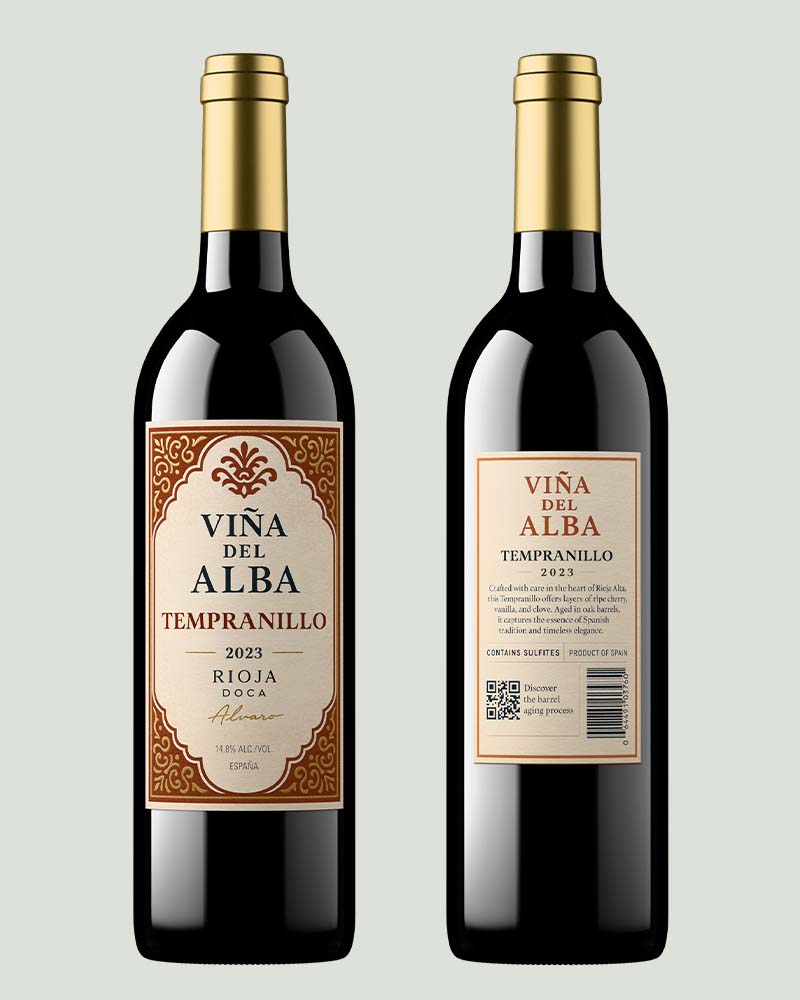
Bottle shots without a photoshoot
There is a second route to the same image, and it does not involve a camera. Outshinery is a virtual studio: the bottle is built as a 3D model and your label file is applied to it, so you get wine bottle shots without shipping physical samples.
Two ways in, depending on the packaging.
- Outshinery Lite is the self-serve route for standard glass bottles with flat labels. Upload a label, pick the bottle and closure, and download a photorealistic PNG at 2,160 px on the longest side in under an hour.
- Outshinery Studio is the human-led route for complex packaging. A trained 3D artist builds each Product Shot by hand, matching foil, embossing, hot stamping, wax, and specialty closures. Production starts within three business days.
The container library behind Studio holds 1,128 bottle models and grows by three to five a week, which is what makes matching an unusual mold possible without a photoshoot.
The part photography cannot match is what happens next year. Because the bottle is a 3D model rather than a single exposure, vintage and liquid color updates are free on Studio instead of triggering a reshoot.
Traditional photography still has its place, and plenty of producers use both. Here is why wineries are switching from traditional photography to 3D renders.

Frequently asked questions
What lighting works best for wine bottle photos?
Soft, diffused light from a softbox or a sheer curtain, placed at roughly 30 to 60 degrees to the bottle so the highlight runs down the side instead of flaring off the front. Add a smaller, harder light aimed at the label to keep the type readable, and a light behind the bottle for white and rosé so the liquid color reads true.
What camera angle is best for a wine bottle?
Shoot at label height, roughly two thirds up the bottle, so the label reads flat rather than curving away from the lens. Dropping slightly below that and tilting up a few degrees makes the bottle look taller and more premium, which is why it is common on hero shots.
What camera settings keep the wine label sharp?
Mount the camera on a tripod and shoot at f/8 or narrower so the front of the glass and the label are both in focus, then focus on the label text rather than the bottle edge. A macro lens helps when you want close-ups of embossing or fine label detail.
How do you stop reflections on a wine bottle?
Block them at the source with black cards or flags, shoot inside a light tent for even coverage, and keep shiny surfaces like glass and metal out of the setup, including the camera body. Checking the bottle from several angles before shooting reveals trouble spots early.
How do you shoot a wine bottle on a white background?
Light the background separately from the bottle so it reads pure white without spilling light back onto the glass, and use black cards at the sides to keep the bottle edges defined. Shopping feeds and retailer portals want this version clean, with no promotional text, watermark, or logo on the image.
Can I get wine bottle shots without a photoshoot?
Yes. Outshinery builds the bottle as a 3D model and applies your label file to it, so no physical sample and no camera are required. With Outshinery Lite you upload a label, pick the bottle and closure, and download a finished PNG in under an hour; Outshinery Studio handles complex packaging with a trained artist and starts production within three business days.
The wine bottle photography checklist
- Bottle prep: Cotton gloves, labels square and level, capsule free of dents, fill line matched to the rest of the range
- Key light: Diffused source at 30 to 60 degrees, highlight running down the side rather than off the front
- Label light: A separate narrow source aimed at the label, hard enough to hold the type
- Backlight: On for white, rosé, and clear glass; off for red, which stops the light anyway
- Camera: Tripod, f/8 or narrower, lens at label height, bottle vertical in frame
- Background: Pure white or transparent version shot first, before any styled variant
- Export: One clean file with no text, watermark, or logo, at 1,500 x 1,500 px or larger for shopping feeds
Twenty minutes of setup discipline saves an afternoon of retouching.