Getting started with Outshinery Studio
5 min read
Your first Product Shot sets the foundation every future image reuses: the angle, the lighting, the label standards. Jump to "How to brief a new request." Come back to the rest once your library is building.
Your team already has a library and chosen standards, all decided for a reason. Start at section 1 so a new request keeps things consistent.
Before you request anything, look at what your team has already built.
Every image in your library was built to a deliberate standard: consistent angle, lighting, and visual treatment chosen to make your whole range look like one brand. A new request that deviates from those choices creates a visible mismatch.
Find your library at studio.outshinery.com/content_library. If you do not have access, ask your account manager. Files there follow a naming convention your team set up, so a few minutes spent understanding the structure saves you from re-ordering something that already exists.
Studio holds info about containers and closures used by Outshinery in the past. You pick from a visual library inside Studio rather than describing anything from memory, so you do not need to know a technical name to find your shape. If using a shape new to your brand, add it as an option.
Two pieces are worth knowing:
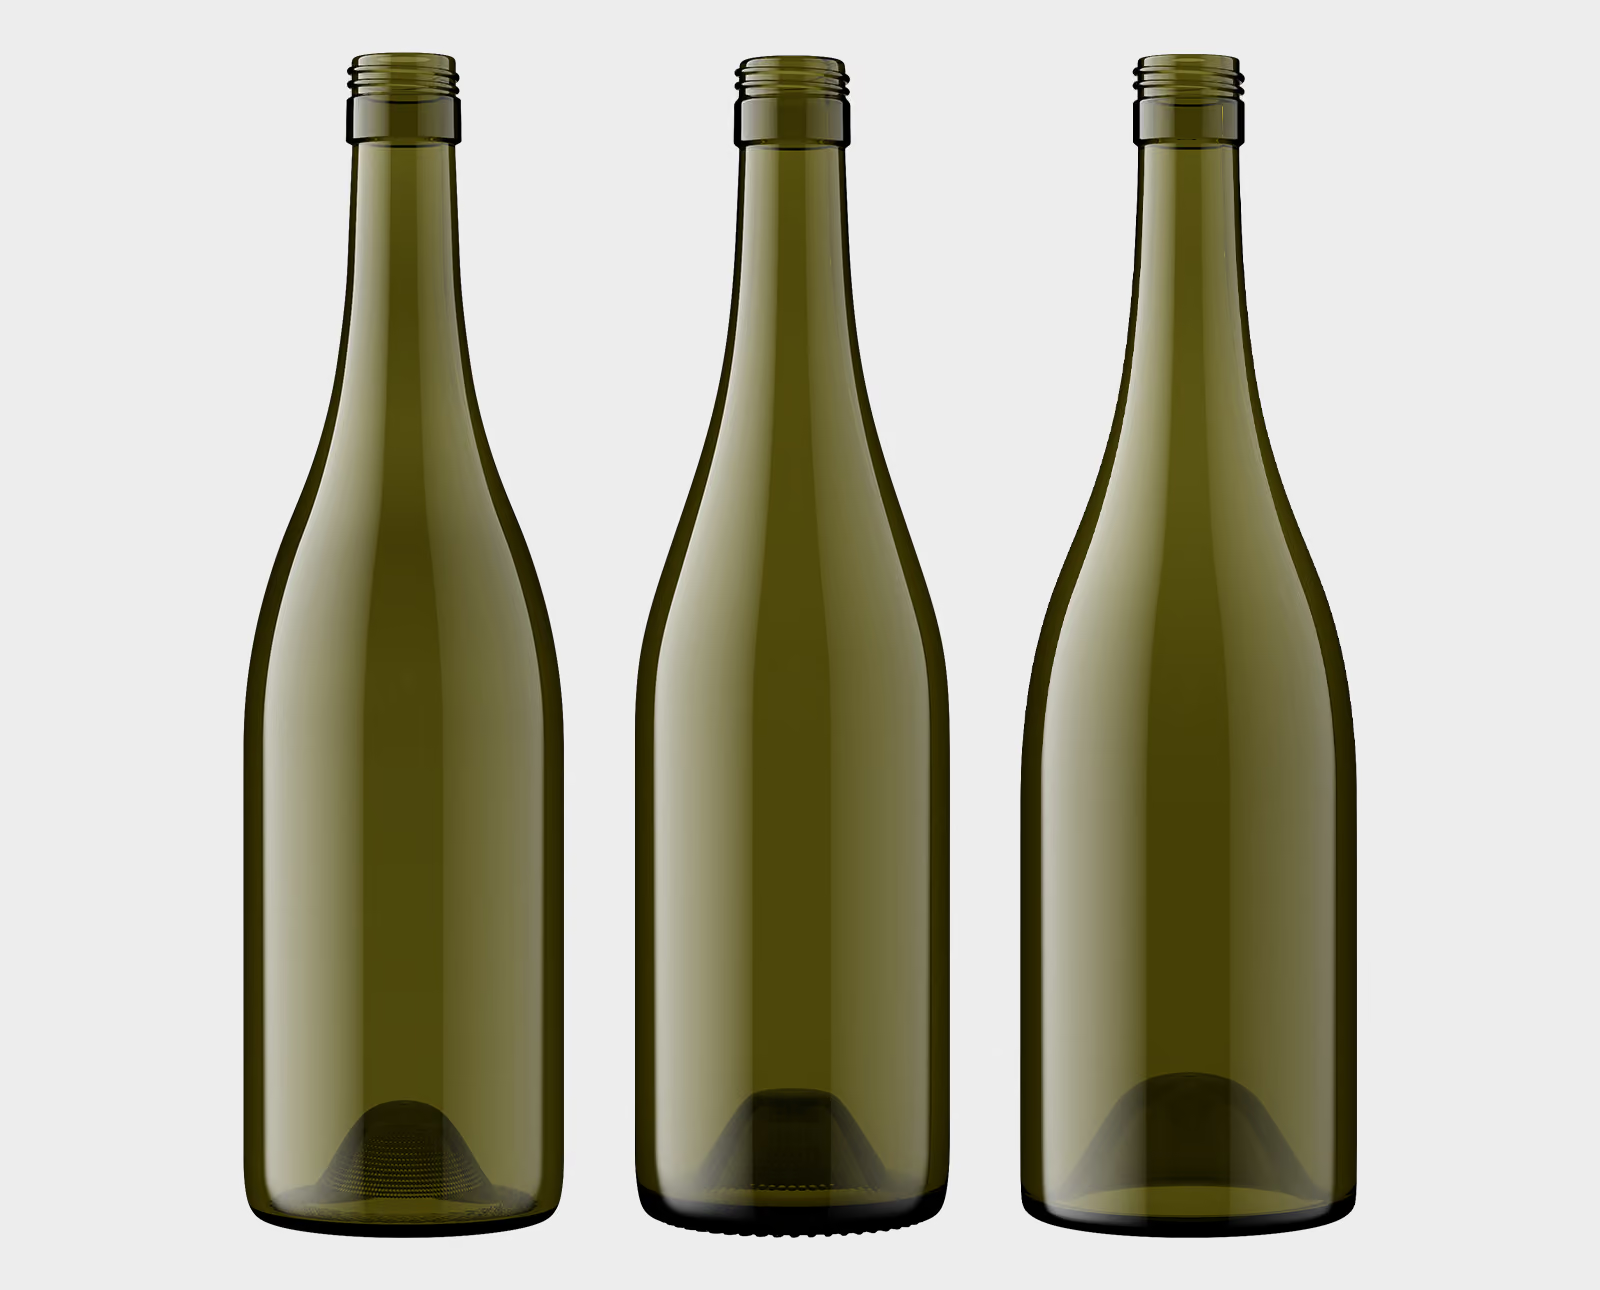
Container. Your bottle is a specific shape, picked from a library of hundreds of real container shapes filed from glass suppliers worldwide. You search it right inside Studio with a visual pop-up that filters by shape, height, closure, and more. Two "750ml burgundy" bottles can differ in shoulder slope, punt depth (the dimple under the base), and height, and those differences are what make a render read as your bottle instead of a generic one. If you know your mold or product number from the supplier's spec sheet, searching by that number is the fastest shortcut. If your shape is not in the library, a technical drawing lets the team model it, at no charge for shapes any brand can use.
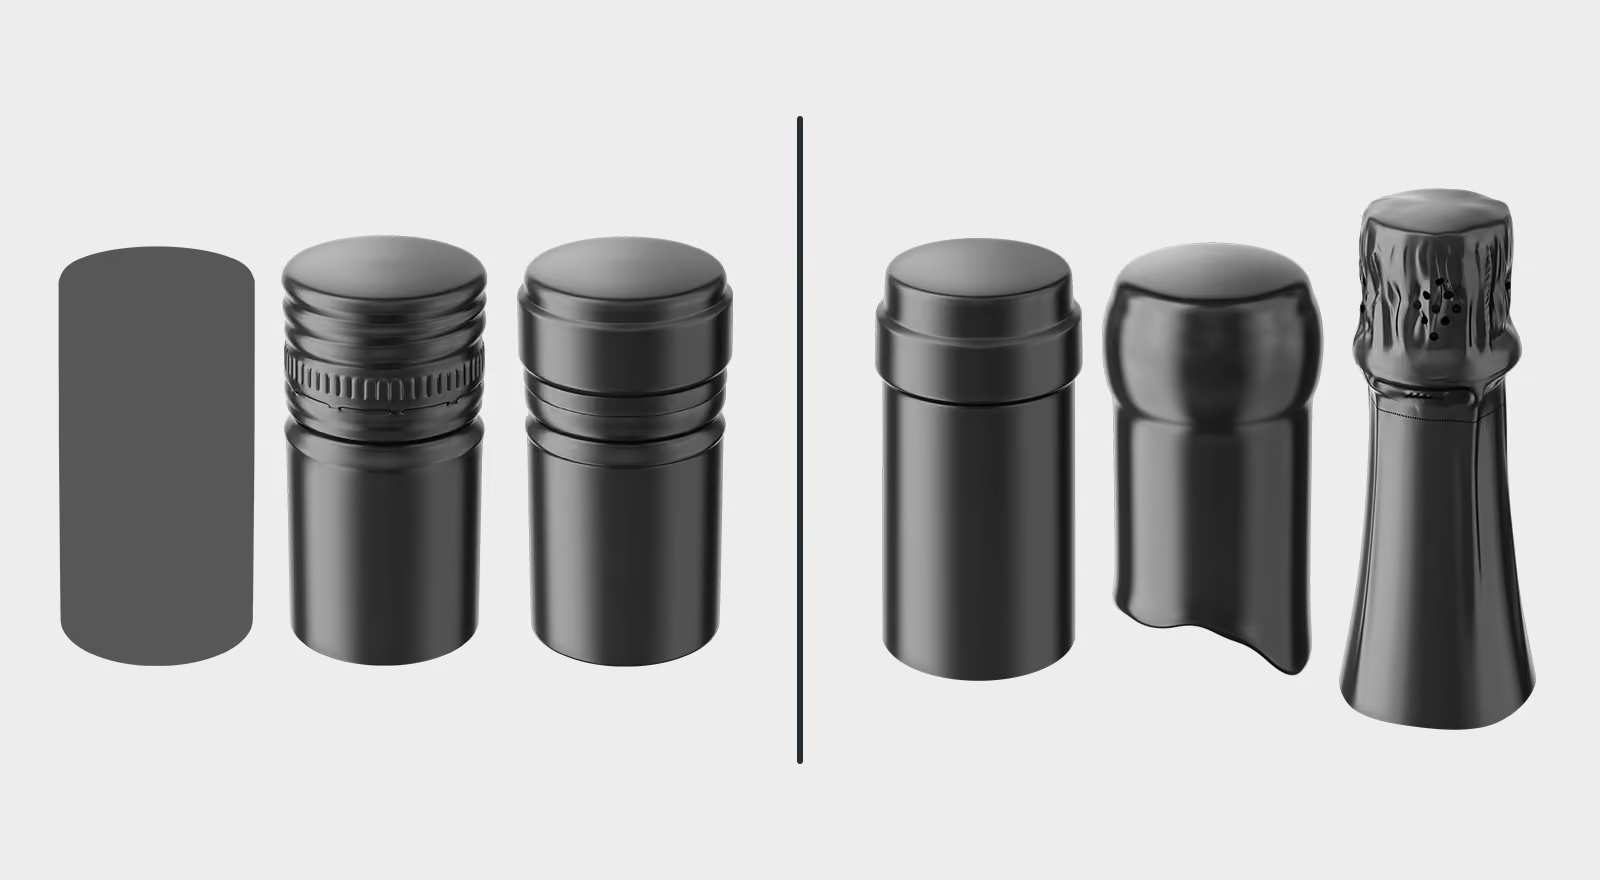
Closure and top covering. These are two different things, in Outshinery's language: the closure is what seals the container (cork, screw cap, can end, spout), and the top covering is what sits on top without sealing (tin capsule, wax dip, foil, hood). The camera sees both, so a brief accounts for both.
You can save your container and your closure as named profiles ("Reserve tin capsule," for example). Once saved, future orders reuse the exact spec in one click. Encourage your team to save the workhorse combinations.
If you are not sure what is already established on your account, check with your account manager before changing anything. Changing a core spec mid-stream is possible, but it can ripple across the consistency of everything you have already produced.
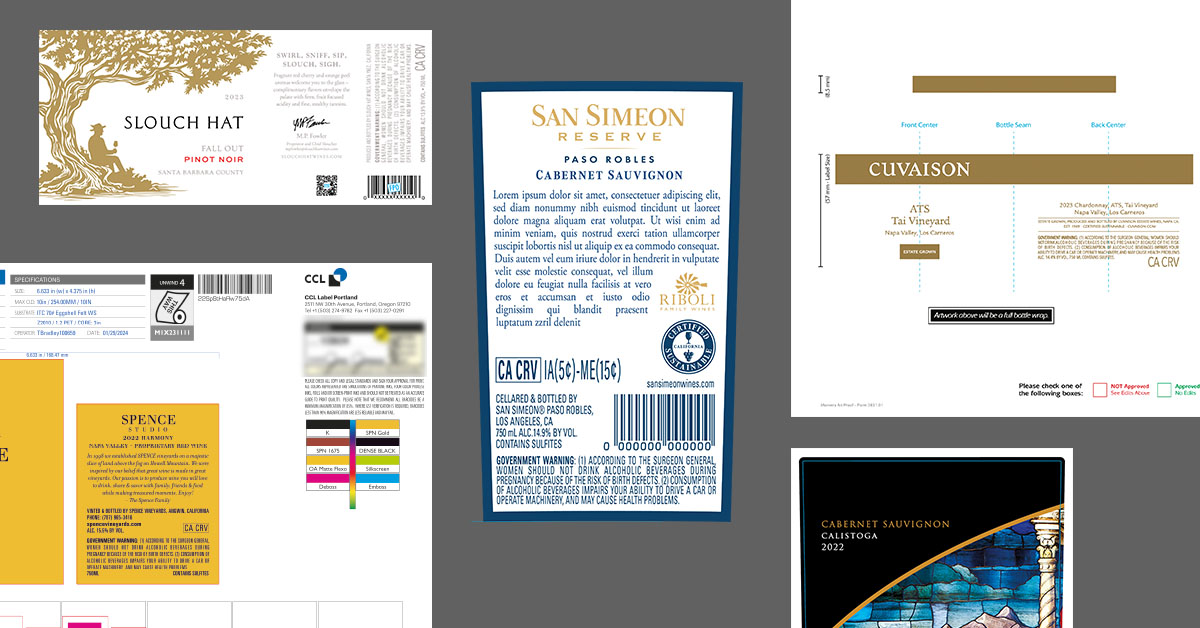
When you order a new or updated image, the label file you send decides whether the image is accurate.
Send only production files: the packaged Adobe Illustrator file (the .ai file with its linked images and fonts) or the print-ready PDF used for actual production. JPGs, PNGs, and TTB approval images do not work, because they carry no print-finish data. The logic is the same as print: if a printer could not produce your label from the file, the team cannot render an accurate image from it either.
This matters most for finishes. Embossing, debossing, foil, and varnish render correctly only when the source file carries them at full resolution with the layers intact. A flat export removes exactly the details that make the final image look real.
Not sure which file that is? Ask your designer or printer for "the packaged file" or "the print-ready PDF." They will know exactly what you mean. Full detail is in the label guidelines.
The Studio briefing form has five steps and most answers are picture-based multiple choice. A few need real files or measurements.
Wine bottles are the most common format and this reflects that. For cans, cartons, boxes, or other packaging, the form adjusts and your account manager will confirm anything specific.
The full walkthrough, with every question explained, lives here: How to brief a new Product Shot.
One rule before you submit: make the brief complete and accurate.** Studio builds exactly what the brief describes, so the real job is giving us every detail right the first time: the container and closure, the colors, the label files, the copy, all confirmed before you submit. Aligning your team on anything still under debate (the capsule color, the back label copy) is part of that, but the larger point is that nothing is missing or wrong.
A brief that arrives complete is what prevents revision rounds. Following up with "actually, one more thing" after work starts multiplies those rounds, delays delivery, and can incur additional costs.
Before anything is finalized, you review a proof: the preview image you approve before delivery. Check every element, and send all your feedback at once rather than in pieces. Once you approve, the team outputs the high-resolution files and adds them to your library.
A complete brief means the proof comes back right the first time. A vague one spends the proof round answering questions instead. And if a proof is wrong because the brief pointed to the wrong container, closure, or file, that correction is on the brief, not on production, so it is not a free revision.
An update revisits to an existing Outshinery image the same 3D model instead of starting over, so it is faster and often cheaper than a new Product Shot. When you submit one, list everything that has changed since the last version. "New vintage" on its own is rarely the whole story.
Before submitting, open the most recent version in your library and think through what actually changed: the closure, a capsule or foil finish, the glass color, the liquid color, or anything on the label (appellation, vineyard, grape, alcohol percentage, barrel count, back label text). What you leave out is what causes a revision cycle. If a detail changed, say so right in the brief.
What updates cost (Shine Credits):
When in doubt, a short note to your account manager is faster than a revision round.
If you want to...
Questions? Your Outshinery account manager is your fastest answer.


Book a 20-min call to see how Outshinery's photorealistic approach can effectively address all your product imagery needs, once and for all.
Schedule a callGet professional, photorealistic images for your brand without the hassle of traditional photoshoots. Outshinery makes it easy, fast, and affordable.