How to brief a new Product Shot
8 min read
A Product Shot starts with a 3D model of your exact packaging, built by a trained artist. The brief is where that precision comes from.
The form has five steps. Most questions are multiple choice with pictures; a few need real files or measurements.
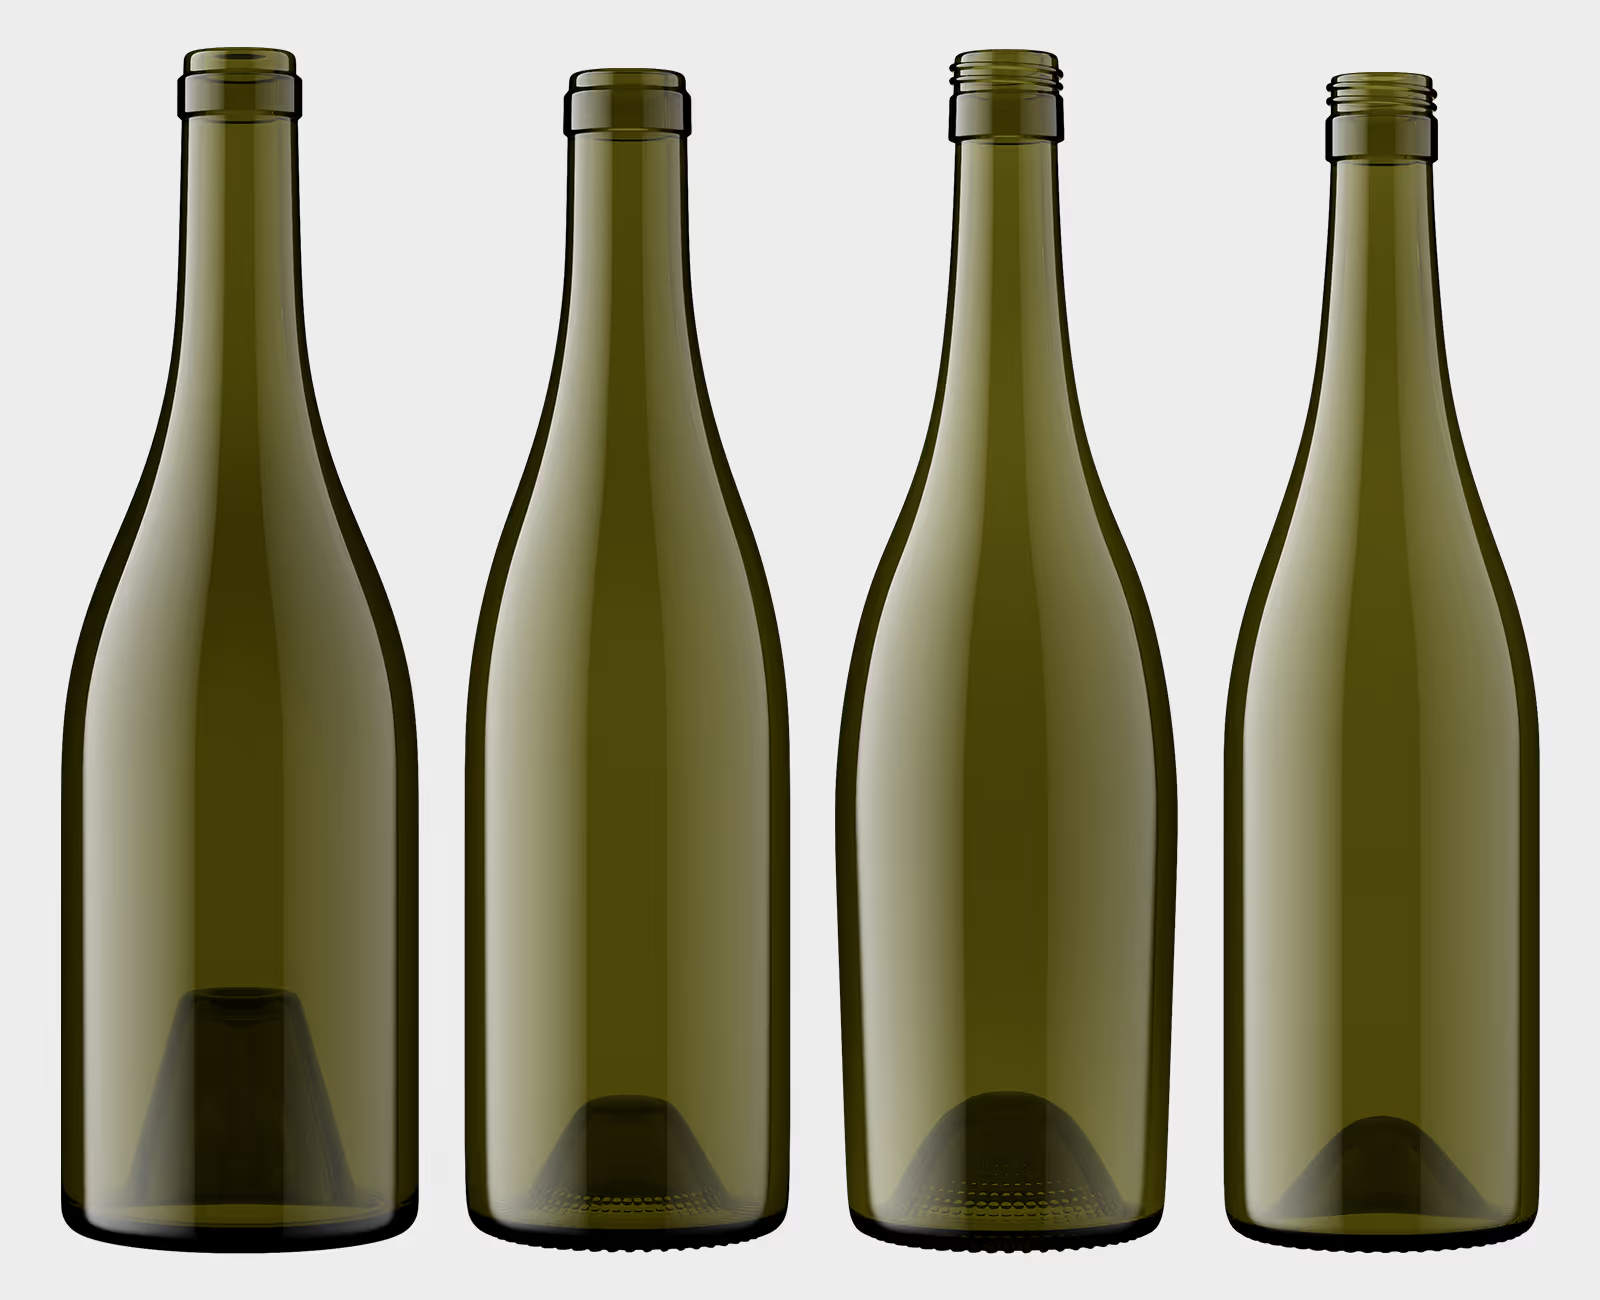
Why the detail matters: two bottles can share the same capacity and shape family and still have different shoulders, punt depths (the punt is the dimple under the bottle), and heights. If the brief points to one and your shelf holds the other, the final image will look subtly wrong to the person who knows the product best. You.
Every section below tells you what we ask, why we ask it, and what to do when you don't have the answer. Not knowing is fine. The form has a path for that. Guessing is the thing to avoid.
Before the first question, it helps to know what you are actually ordering.
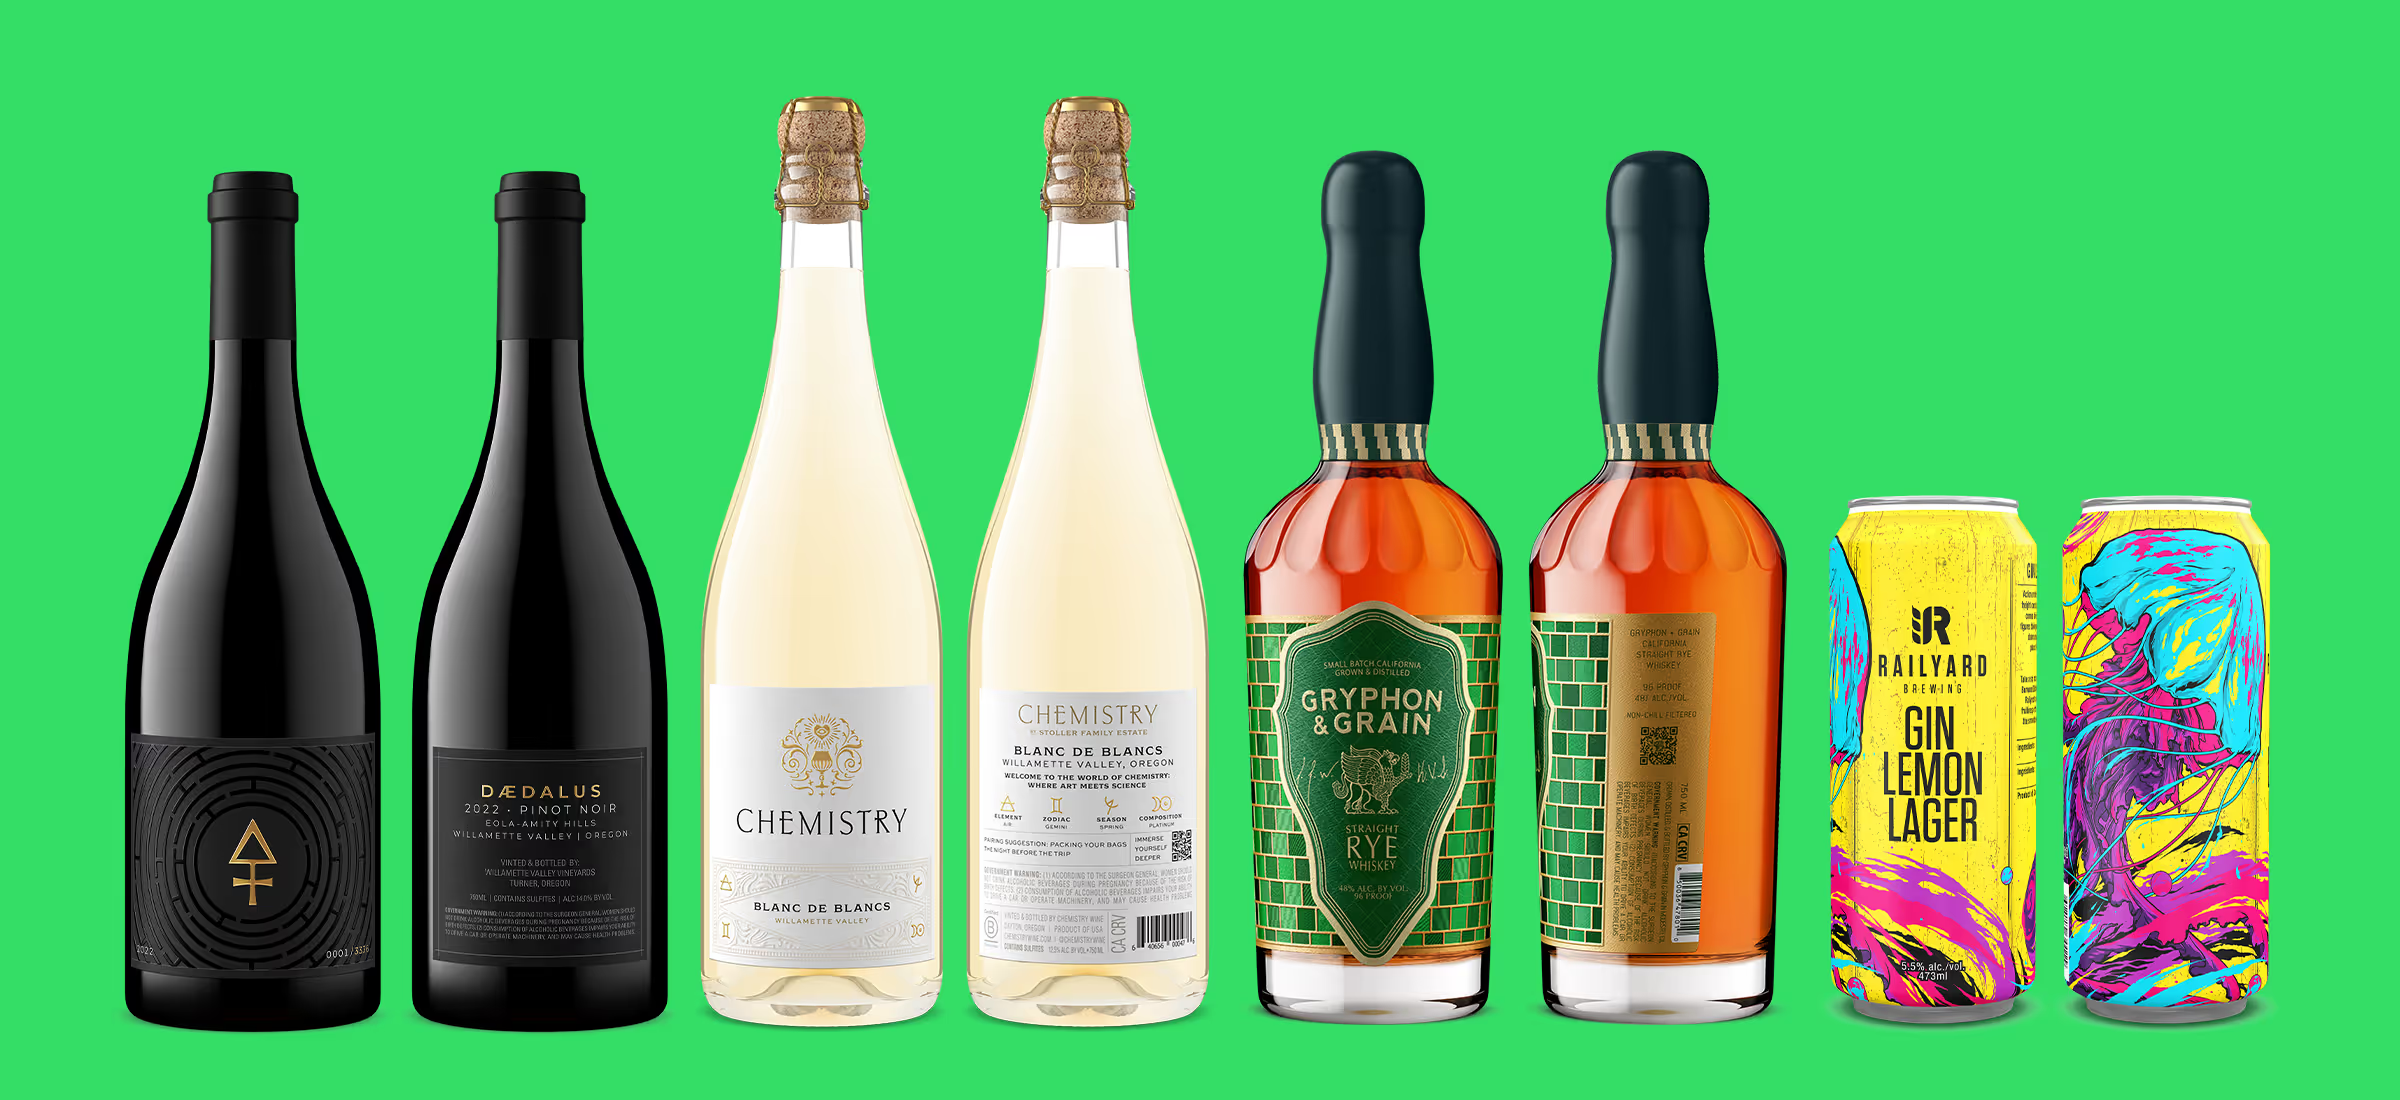
A Product Shot is not just one image. It is the digital twin of your product, an exact 3D replica we keep on file, and everything else builds on it:
This is why the brief deserves four careful minutes. You are not ordering a picture. You are building the asset everything else reuses.
If you sell it with a label on it, you are in the right place.
Brand and product type are the only required fields. The optional ones, sub-brand, origin, vintage, additional identifiers, exist for one reason: telling similar products apart.
Say you sell the same wine with one label for DTC and a slightly different one for retail. Two products, nearly identical names. An identifier like "DTC" or "Retail" entered now prevents every mix-up later, in proofs (the preview image you approve before delivery), in reorders, in your own image folders. Think one step ahead here and the rest of the order takes care of itself.
Your answers also become the file names of the finished images in your library, the TIFF, JPEG, and PNG you download and share:
YourBrand-Reserve-Pinot Noir-DTC-750ml-2024.png
Name the product well now and you will still find the right file in two seconds, three vintages from now.
Want an evergreen version too?
Check the vintage-removed box and you get a second image with no year on it, at no charge, ready for sell sheets and listings that outlive the vintage.
Updating an existing Product Shot instead?
New vintage, label tweak, several vintages at once: that is a different, faster flow. See the image update guide.
Search the library first.
Choose your category, family, and capacity, then browse actual renders of container shapes. Filter by closure type, profile, shoulder, punt, height, or glass supplier until the list gets short. Each shape card shows height, diameter, and a reference number. If you have ordered before, your saved containers and past choices surface first.
Outshinery has already filed hundreds of container shapes from suppliers all over the world, and new ones are added weekly. Odds are good your bottle is already in there.
Why "750ml burgundy" is not enough.
Hundreds of molds answer to that description. Side by side, they differ in shoulder slope, punt depth, and overall height, and those differences are exactly what makes a render read as your bottle instead of a generic one. Remember: your physical product never passes through our hands. The brief is the handoff, and a precise one is what turns the finished image into a perfect digital twin instead of a close guess.
A mold number is the fastest shortcut.
Glass suppliers like Gallo Glass, Saint-Gobain, and O-I assign each bottle design a mold or product number. You will find it on the supplier's spec sheet or tech drawing, sometimes embossed on the punt. Type it into the library search and you can skip the browsing entirely.
Can't find your container? Upload the details instead.
Select "Packaging not found" and attach the technical drawing from your glass supplier, the one with all the measurements on it (your supplier may call it a CAD drawing or spec sheet). Photos alone, especially phone pictures, don't carry enough information for accurate modeling. Add a link to the supplier's product page if you have one. As long as the shape is available to any brand, we build the model at no charge.
Exclusive shapes.
If your container is a bespoke design other brands cannot use, the form routes you to a separate path: name it (15 characters max), upload the technical drawing, and we model it as your proprietary shape for a one-time fee of 1 Shine Credit. It then lives in your library for every future order.
First, a distinction worth 10 seconds, because it is our language, not wine language:
The form asks about both, because the camera sees both. And it only shows the questions that fit the container you picked.
Cork.
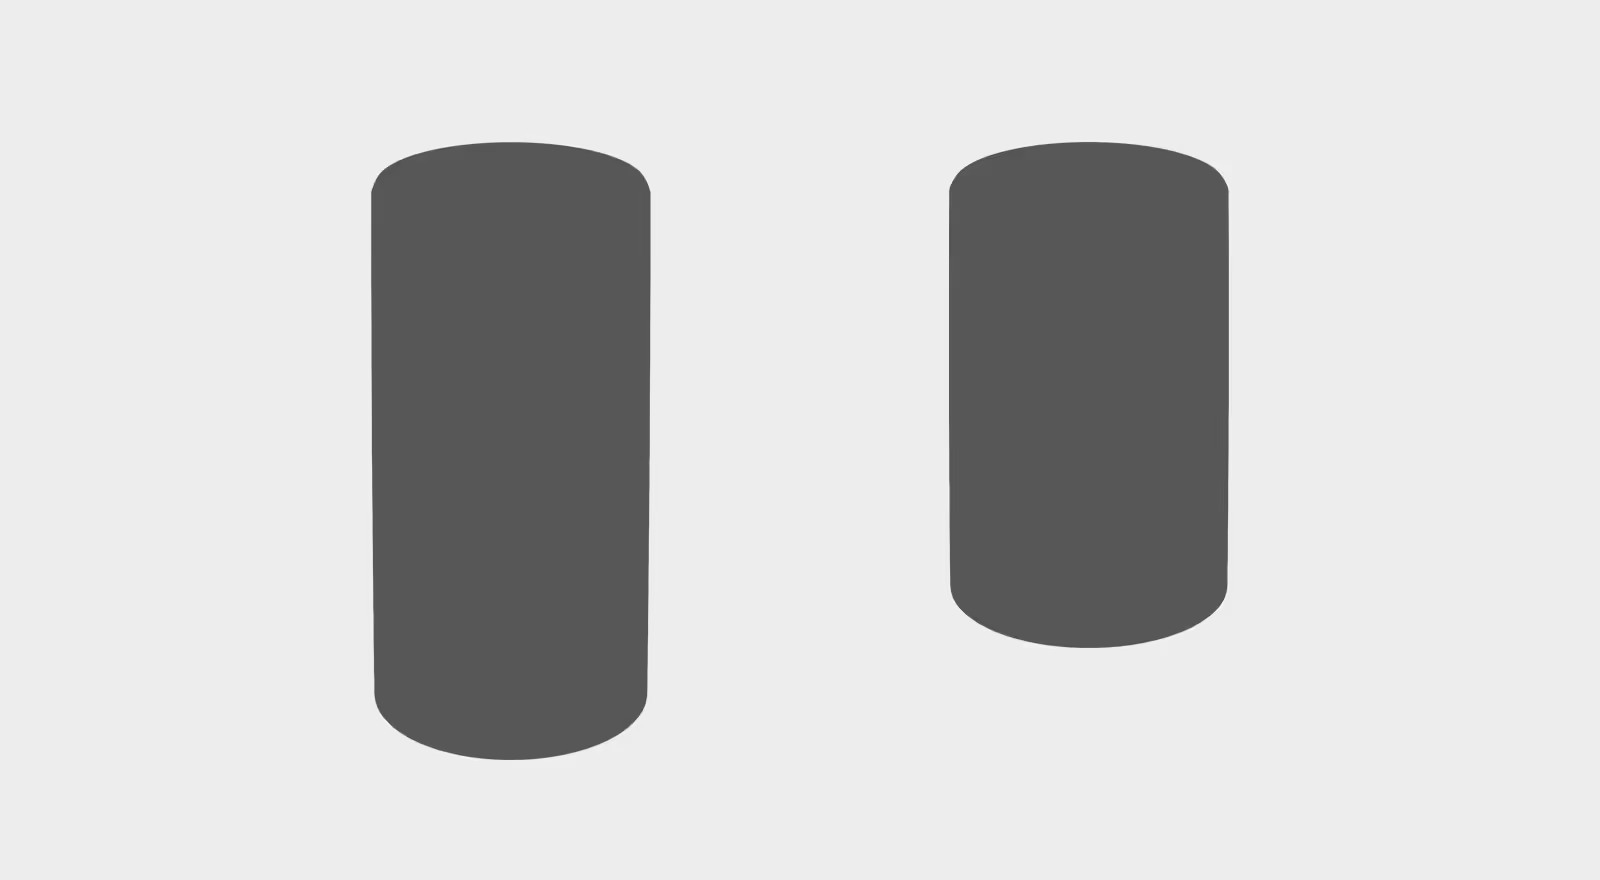
Three things matter: how much of the cork is visible (fully covered, partly visible, or fully exposed), the cork height, and the material. Height is the one people skip, and it shows. A 38mm cork and a 49mm cork on the same bottle produce two noticeably different final images.

Both your container and your closure can be saved as named profiles, and we encourage it.
Saving keeps the full spec on file, files and all, so future orders never re-enter it.Say all your reserve wines wear the same tin capsule with a printed crest. Brief it once, completely, then save it as "Reserve tin capsule." Next reserve release, it is one click, and the spec is exactly right because it is the same spec.
The same goes for the container: save your workhorse bottle and skip the library walk entirely next time.
Pick your color range (reds, rosés, whites, ambers, or clear), then the exact shade. Flag anything that changes how light moves through the glass: translucent, opaque, or hazy/cloudy, common for natural wines.
Optional but welcome: a quick phone photo of the liquid on a white background helps us match the shade precisely.
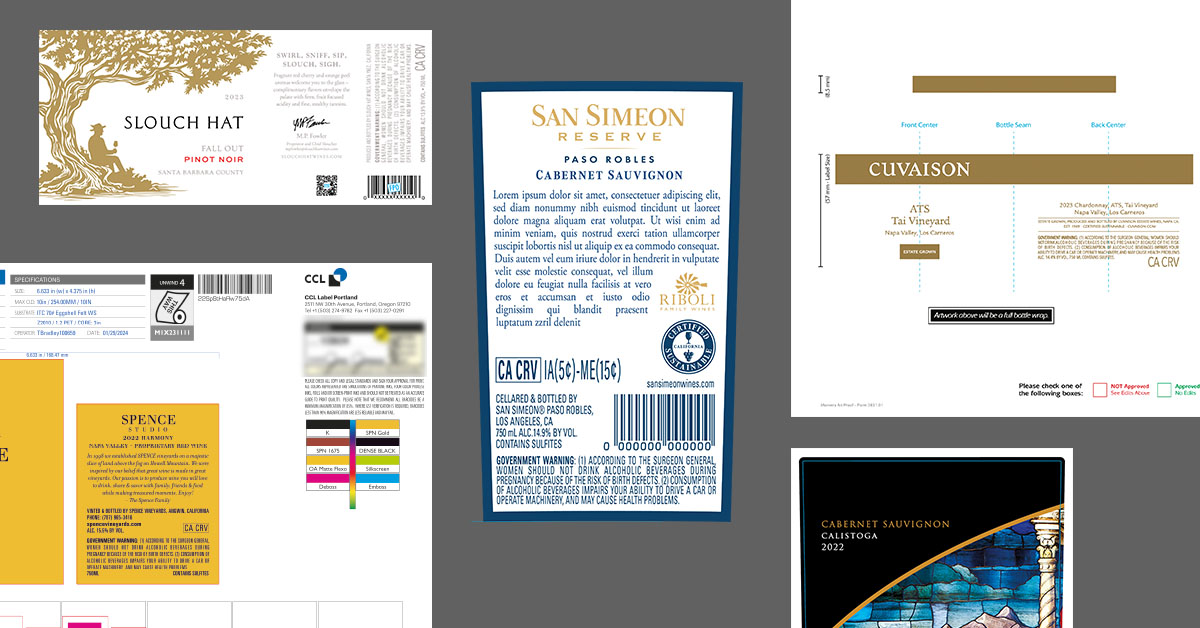
The rule is one sentence: send exactly what went to your printer, or what is about to go. Nothing more, nothing less. It is not extra work, it is the same files:
Not sure which files those are? Ask your label designer or printer for "the packaged file" or "the print-ready PDF." They will know exactly what you mean, and it takes them two minutes.
JPGs, PNGs, and TTB approval images will not work. The logic is the same as print: if a printer could not produce your label from the file, we cannot produce a quality render from it either. Files without print data mean we come back asking for replacements, which delays your images.
Call out your finishes.
A flat PDF cannot show us embossing, debossing, hot-stamped foil, holographic foil, raised varnish, or a custom diecut. The form asks about each category. Check everything that applies: these details are the difference between a realistic image and a poor mock-up. They are what makes your label shine.
Placement.
Measure the distance from the bottom of the container to the label and enter it in inches or millimeters. Wraparound label? Upload the single file under Front label and skip Back.
Paper matters too.
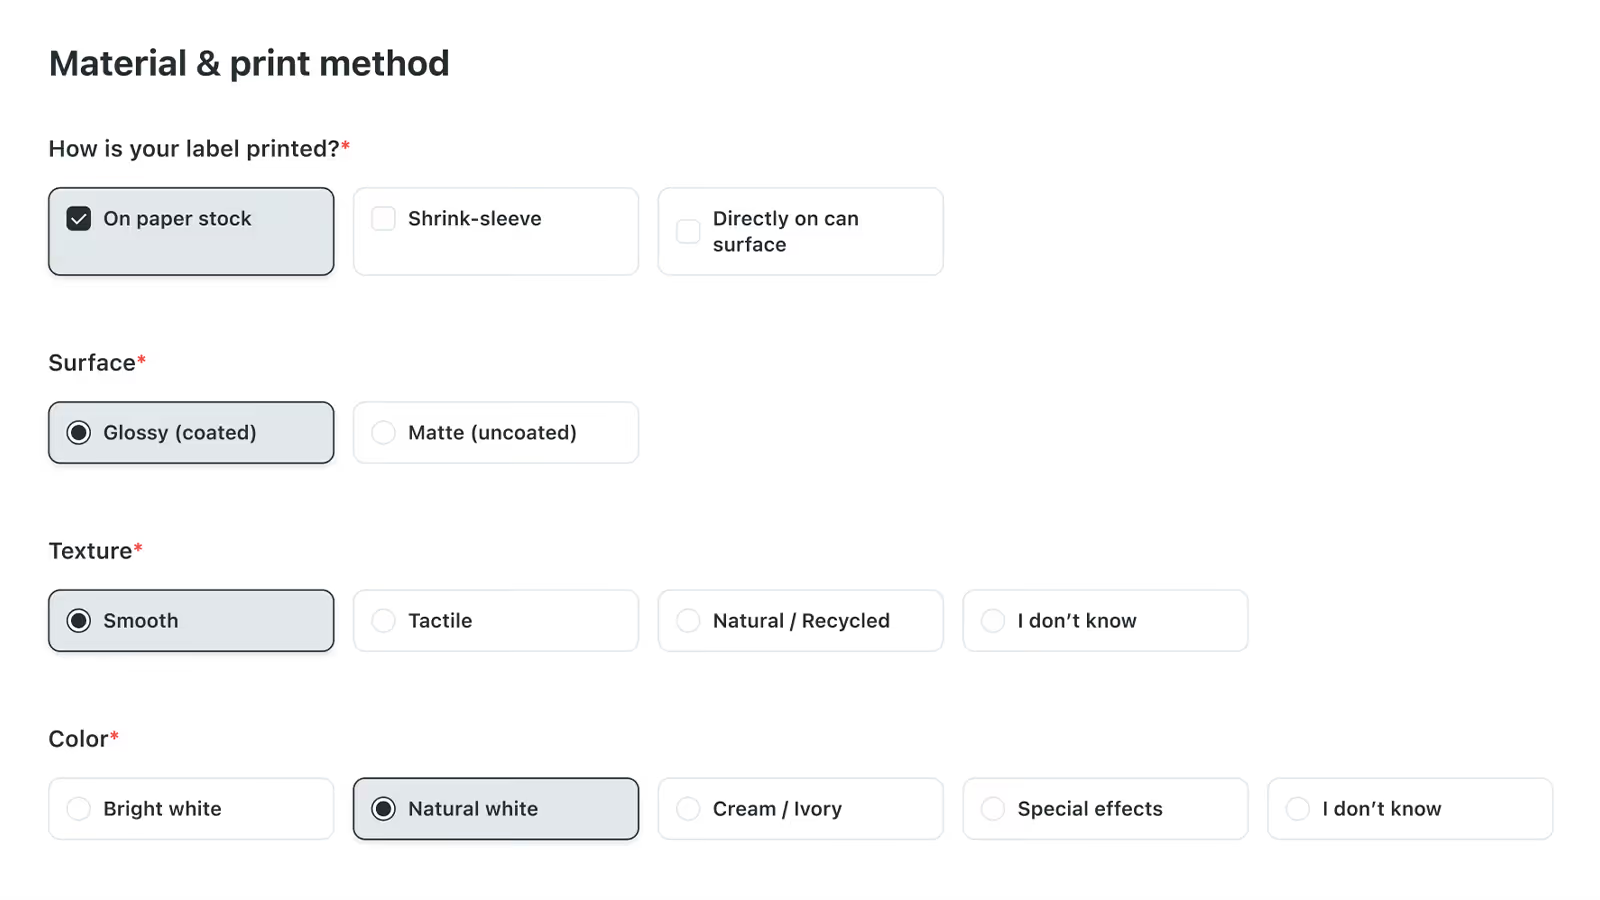
If your label is printed on paper stock, the form asks about surface, texture, and color, and lets you pick the exact stock from a searchable library. Not sure? Choose the default texture and move on.
You answer the questions once. Then you pick as many views as you need from the same model:
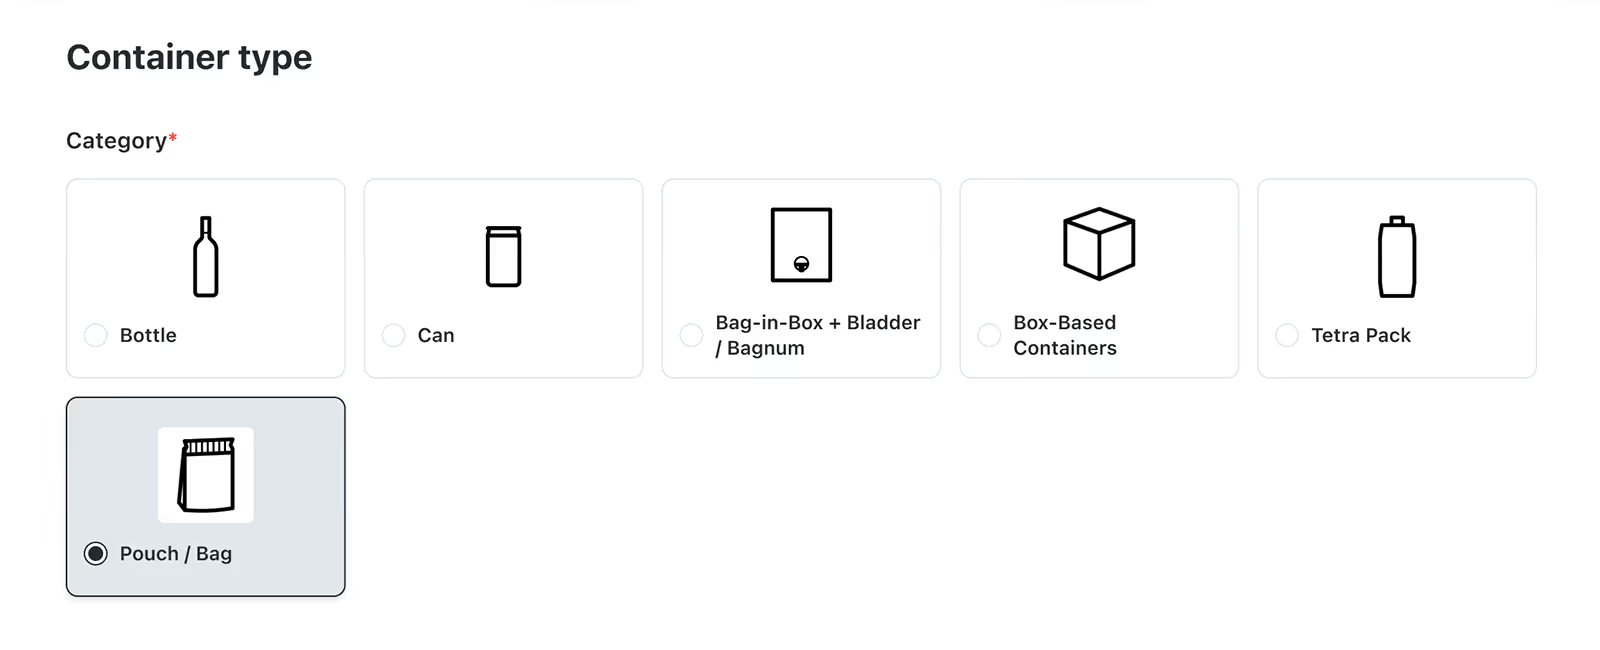
Box, carton, or pouch?
Those formats come with more view options than a bottle or can would, like the box at an angle or lying down.
HD or Super HD?
HD is 3,000px at 300dpi, right for web, ecommerce, and standard print. Super HD is 6,000px, for posters, billboards, and large-format work.
Then choose turnaround: regular at around 5 business days, or rush at 2. The summary panel shows your total in Shine Credits before you commit. You can place the order or save it for later.
The form has your back: it will not let you submit while a required answer or file is missing, and it saves as you enter, so you can close it and come back anytime. Use this list as your last pass, step by step:
A complete brief means your proof comes back right the first time. That is the whole secret.
The form has your back: it will not let you submit while a required answer or file is missing, and it saves as you enter, so you can close it and come back anytime. Use this list as your last pass, step by step:
A complete brief means your proof comes back right the first time. That is the whole secret.
The vague brief:
"750ml burgundy, natural cork, label attached." The container is a guess from the family, the cork height is unknown, and the label is a JPG with no finish data. Best case, the proof round gets spent answering questions instead of approving images. Worst case, the brief is too vague to start at all and comes back to you for more information. Lost time, frustration all around.
The good brief:
Container picked from the library by mold number, antique green. Natural cork, 49mm, partly visible, under a matte black tin capsule with the crest artwork attached. Liquid: reds, exact shade picked. Packaged Adobe Illustrator label file with the hot-stamp foil and embossing flagged, placed 22mm from the base. Front and back views, HD, regular turnaround. Result: the proof matches the shelf on the first pass.
Same wine. Same form. About four extra minutes. That is the difference.
Why accuracy is your job too.
Your proof is built from your answers. If the proof comes back wrong because the brief pointed to the wrong container, cork, or file, that is not a production error, and corrections for it are not free revisions. Additional fees may apply. Four careful minutes up front cost less than a redo.


Book a 20-min call to see how Outshinery's photorealistic approach can effectively address all your product imagery needs, once and for all.
Schedule a callGet professional, photorealistic images for your brand without the hassle of traditional photoshoots. Outshinery makes it easy, fast, and affordable.